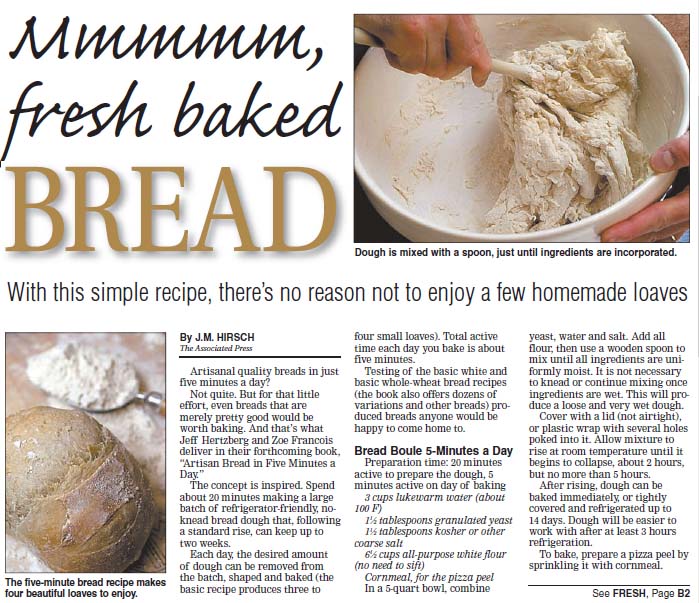
New video and great article by Rick Nelson in the Minneapolis Star Tribune

Zoe and I were interviewed last month by Rick Nelson, food writer at the Minneapolis Star Tribune, and the article came out on December 6, 2007. Rick was more than kind to us: “…If holiday gift-givers are aiming to buy one new cookbook title for the bakers in their lives, they should look no further than the remarkable Artisan Bread in Five Minutes a Day… Hertzberg and Francois should have called their burst of genius Breadmaking for Dummies — that’s how user-friendly it is… their master recipe is wildly flexible, generously adapting to a wide range of breads, pizzas, flatbreads and pastries.” Read the entire review.

We’re just as excited about Jenni Pinkley’s fantastic video that she shot for the paper’s website. Astute and attentive viewers will note Zoe’s incisive comment as the video closes. Click here to see the video. Speaking of video, I think Martha Stewart was talking about us when she interviewed legendary cookbook editor Judith Jones on The Martha Stewart Show that aired last week. Martha asked Judith (who edited Julia Child and James Beard) “what do you think of this wet bread that you hardly let rise, you hardly do anything to it, you just sort of put it in the oven?” Judith wasn’t buying; she told Martha that “kneading is the fun of making bread.” Martha asked her “I know, but what if you don’t have to?”

Couldn’t have said it better ourselves. See the video (click on the “video” tab once you get there; Martha brings up bread at 2:15 into the video).

Artisan bread flavor without the work!

A frequently asked question is…”How do I get that sour characteristic of artisan bread without having to use a starter, which is way too high maintenance?”

The answer is easy with our bread method, just wait. I mean mix up your dough, let it rise, use some if you need to immediately and then let the rest of the batch sit in the refrigerator for up to two weeks. Don’t feed it, just wait. After the 2nd day you will notice that the flavor is more complex and is starting to take on the characteristics in artisan bread that you crave: sourdough flavor, larger air holes, nice “custard” crumb and crisp tin crust. As it ages it improves, like all of us! The way I maintain that flavor in the next batch is to leave a piece from an “old” dough in the bucket and just dump the ingredients for a fresh batch right on top. Read More

Convection oven works great

Return to FAQs page

People have asked whether our recipes can be made in convection ovens. They can, and the only reason I didn’t mention convection ovens in the first book is that most people don’t have them.

But convection ovens do a great job with bread– the bread browns easier and rises higher when the convection fan is blowing. After ten years of living with a broken convection fan, I finally had a mechanic look at it who knew how to fix it. So I’ve been re-testing everything with convection.  First, lower the heat by 25 degrees F. Make sure that the convection fan isn’t fooling your thermostat (use an oven thermometer).

For a loaf-pan bread made from Italian Peasant Bread dough (page 46 of ABin5), the loaf baked faster than usual (about 25 to 30 minutes), rose higher, browned more deeply, and was more attractive. The pan was placed directly on the stone near the center of the oven and baked with steam (page 30). The loaf was heavenly when cooled and cut. Perfect custard crumb (dough was a week old) and richly caramelized crust.

In many convection ovens, you will need to be more attentive to turning the loaf around, at least once at the midpoint of baking or beyond. Otherwise you’ll get uneven browning.

But be aware that many newer convection ovens automatically make an adjustment, so consult the owners manual that came with your oven before deciding what to do about the set temperature. 

More in The New Artisan Bread in Five Minutes a Day, and our other books.

Return to FAQs page

Note: BreadIn5.com is reader supported–when you buy through links on the site, BreadIn5 LLC earns commissions.

question about weighing the flour?

Hi — your book made our Thanksgiving! My grandmother always made cinnamon rolls for Thanksgiving and I had let the tradition go because they were so much work. But this year I saw the NYT article, ran out to buy the book, and we had cinnamon rolls for Thanksgiving dinner to my sister’s and my daughter’s delight. Thanks so much.

Here’s my question: I went through a sourdough phase awhile back and got used to measuring flour with a scale. I’m excited about trying it again with your dough formulas. Is there an equivalent you’d suggest for weighing flour(s)? Different books seem to vary in what they consider the weight equivalent of a cup of flour. I’d appreciate any suggestions and again, thanks so much.

Anne Read More

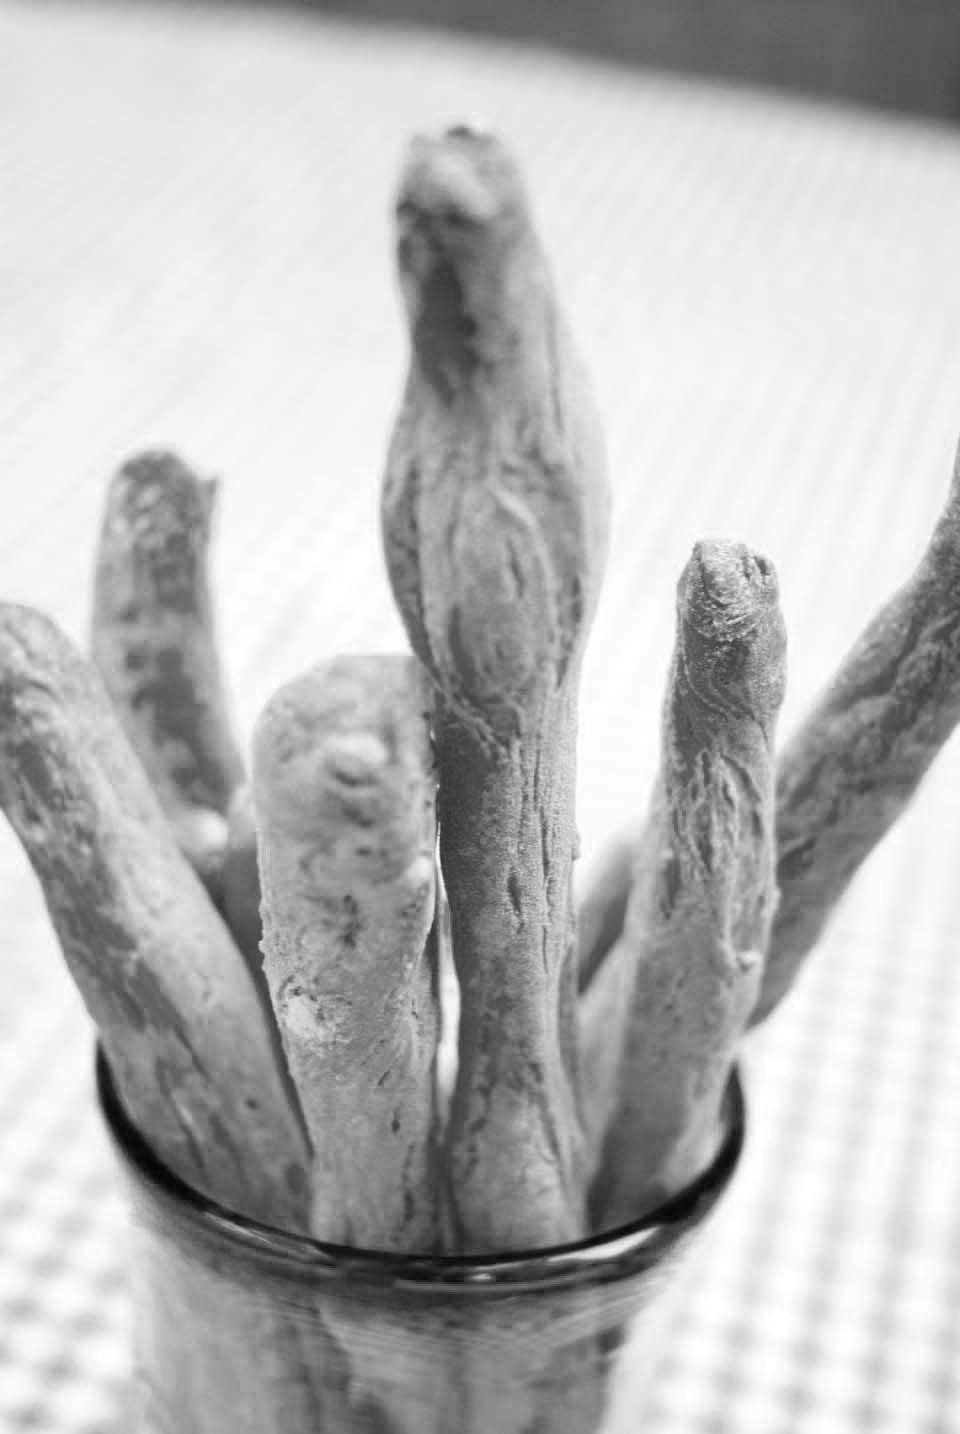
Grissini– Olive Oil Breadsticks

Hmm. What to do with that leftover prosciutto? Better wrap it around some Italian breadsticks (grissini). Grissini are infused with olive oil, but since the oil infuses just as nicely when drizzled over the unbaked sticks as when mixed into the dough, you have a variety of choices of which pre-mixed dough to use– you don’t have to use an olive oil dough (even our olive oil dough will need additional oil). This batch was made with a basic peasant dough (page 94), but as below, it works nicely with any of the listed ones.

All page numbers refer to my book, The New Artisan Bread in Five Minutes a Day (on Amazon and other booksellers).

Makes a generous handful of grissini

Use any of these pre-mixed doughs: Boule (page 53), European Peasant (page 94), Olive Oil (page 214), Light Whole Wheat (page 131), or Italian Semolina (page 143)

1/2 pound (orange-size portion) of any pre-mixed dough listed above

Olive oil for drizzling, preferably extra-virgin, dispensed from a small-tipped squeeze bottle

1. Preheat the oven to 400 degrees F. A baking stone is optional, but if you’re using one, allow for a 20 minute preheat, otherwise 5 minutes is adequate.

2. Line a cookie sheet with parchment paper or a silicone mat, or simply grease it well with olive oil.

2. Take a small piece of dough and gently roll it into a ball. Gradually stretch and roll the ball on a lightly floured wooden board until you achieve sticks with a diameter of about 1/8 to 1/4 inch. Lay them out on the prepared cookie sheet with an inch or so between each stick.

3. Generously drizzle a stream of olive oil over each stick.

4. Bake near the center of the oven for approximately 6 to 10 minutes. Grissini are done when they are nicely browned and beginning to crisp (they will firm up when they cool). Serve plain as an hors d’oeuvre or with one half wrapped with a prosciutto strip.

Note: BreadIn5.com is reader supported. When you buy through links on the site, BreadIn5 LLC earns commissions.
Privacy Policy

Return to FAQs page

The website is owned and maintained by BreadIn5, LLC. We will not sell, disclose, or distribute your personally identifiable information to anyone without your permission, unless required by law to do so. Our advertising partners may use “cookies,” small snippets of computer code, to tailor advertising content to viewers. If you don’t want “cookies” left on your computer, you can disable them in your web-browser.

We may collect e-mail address or other information you might provide voluntarily. We use the information you provide to improve our products and services.

If you click on a web link to a site outside of BreadIn5.com, please understand that we have no control over how the linked site uses information you might provide to them. Our privacy policy does not apply to those other websites.

Note: BreadIn5.com is reader supported. When you buy through links on the site, BreadIn5 LLC earns commissions.

Return to FAQs page