10 Things I Wish I’d Put into My Books
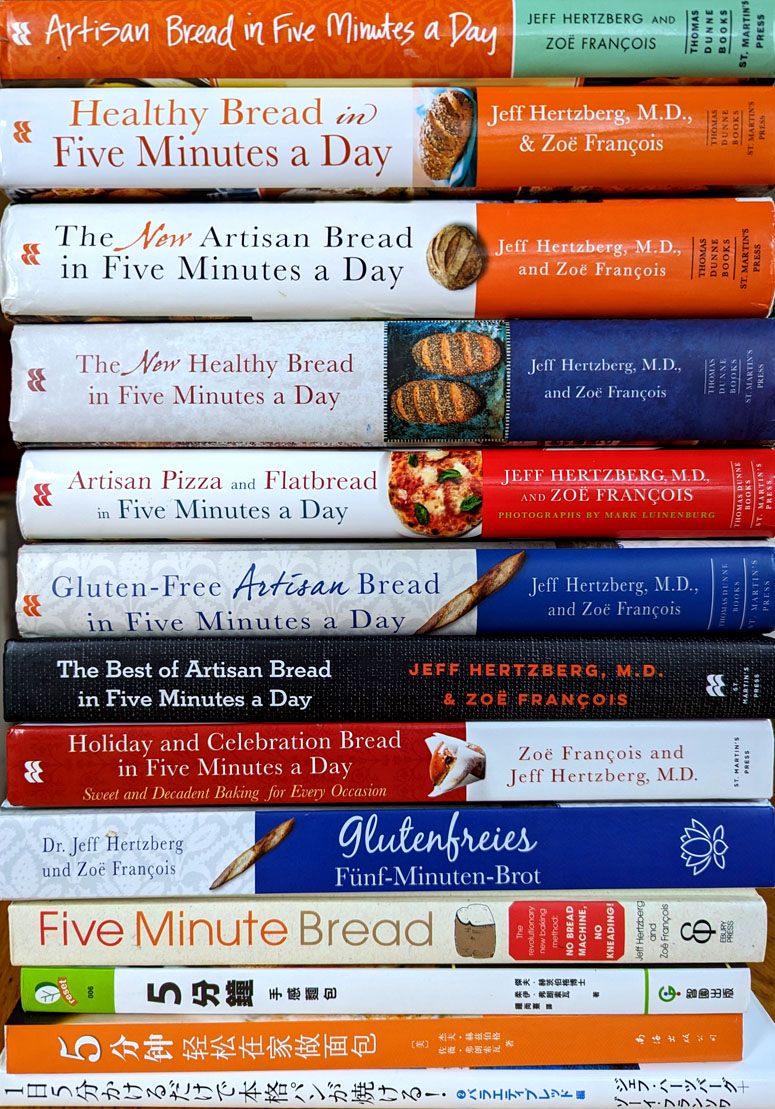
It’s been 17 years since I published my first bread cookbook, meaning I’ve spent more than 17 years learning, tweaking, experimenting with, and obsessing about bread. I included many of those discoveries and realizations in the next seven books, but needless to say I’ve thought a lot about what I’d do differently if I had it to do all over again. As author James McBride once said, “If I had known so many people were going to read that book, I would’ve written a better book.” Just kidding—I still stand by my original recipes, tips, and techniques. But if I knew then what I know now, here’s what I would’ve included:
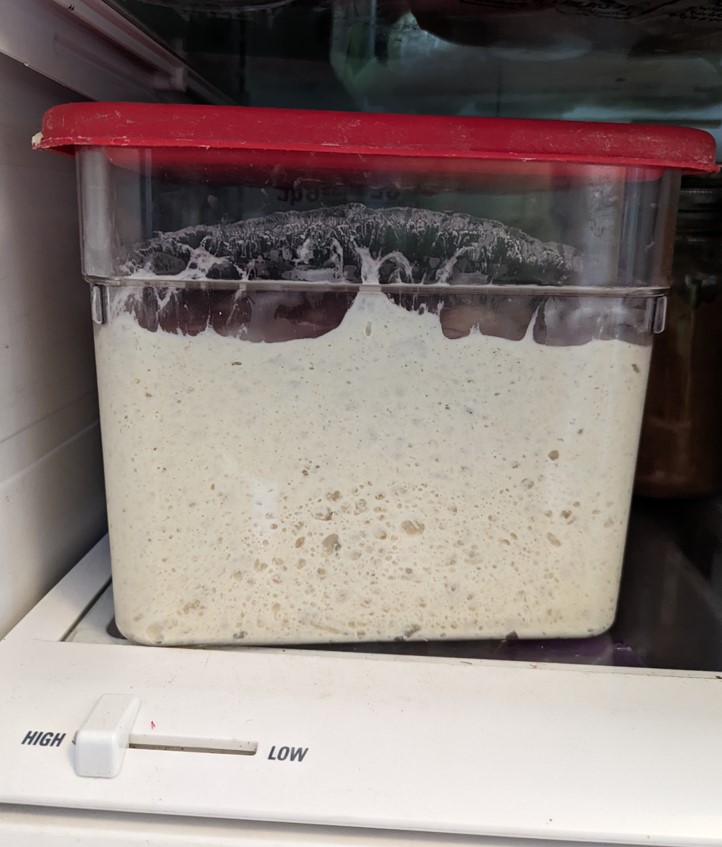
1. Always store the dough for at least a few days before you bake a loaf from a new batch: In as many words, I do say this in the books, but I didn’t want to deny readers from having fresh, hot bread ASAP. Years of trial and error, however, and sampling many, many loaves of bread (cue tiny violin), have convinced me that slightly aged dough is far superior to Day One bread. This means that you might have to stagger batches, but it’s worth it. The flavor deepens and improves in the refrigerator. The crumb develops a more open, “custard-crumb” effect. If you really can’t wait, using a little pre-fermented dough (“pâte fermentée“) can approximate the effect, but not quite as much as aging the dough, which I think reaches its peak at about the halfway point of the recipe’s storage recommendation. That said…
2. …Always use a little old dough (“pâte fermentée“)—about a cup or so—to jump-start flavor in the new batch, and don’t bother washing the dough bucket unless it has eggs or dairy. This is another great lazy-person trick (and laziness is what motivated me to simplify bread-baking in the first place). Just build the new batch on top of the old. And consider turning your old dough into a “sponge.” First, measure out all your ingredients for your new batch. Then, dilute your cup of old dough with water from the recipe, adding a little of the recipe’s flour, and mixing until it’s like thick pancake batter. Add a pinch of the recipe’s yeast, and let it sit overnight before incorporating into the mix. Fully aged dough can be frozen to be used this way, and that’s how I usually do it.
3. Always use a little rye flour in basic white doughs: As little as a tablespoon or two of rye in a four-pound batch deepens flavor and improves the character of white bread. Try this with my basic white-flour recipe and you’ll see what I mean. Whole wheat flour has a similar effect, though not as dramatic. Either way, it takes just a little to heighten and enhance the flavor of white bread without sacrificing its classic deliciousness.
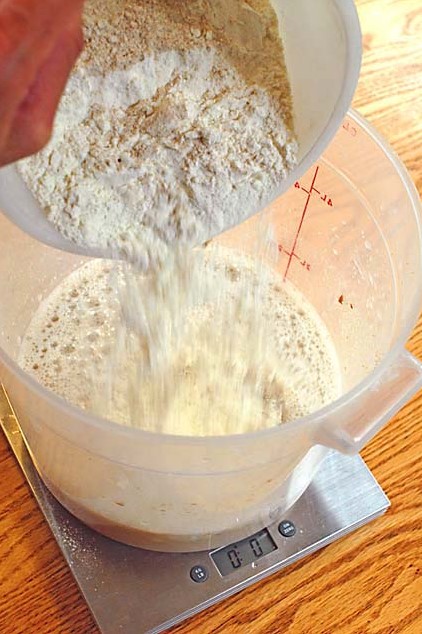
4. Weigh your ingredients: Forget about cup-measures. When my 2007 book was published, it, and most U.S. recipes were written for cup-measures; my subsequent books give weights as well as volumes. With the availability of inexpensive digital scales, the food world’s recognized weights as a more accurate way to measure ingredients, especially flours. If I were starting now, all my recipes would be in metric weights only, which yield much more intuitive numbers. The basic recipe in tip #1 above would be based on 1,000 grams of flour, and 750 grams of water (or 75% hydration by “Baker’s Percentage”).
5. Rise times may vary. Don’t sweat it. In my first book (2007), I called for 1.5 tablespoons of yeast, which is a lot for four pounds of dough. I wanted there to be zero chance of failure, because this book was aimed at non-bakers, many of whom think of yeast as the great bogeyman of the kitchen. And yes, that high yeast dose meant that in pretty much any kitchen, at pretty much any temperature, you’d get full and fast rising, with the dough at least doubling in volume within two hours. But some readers found the yeast flavor too strong, so in subsequent books, I called for 1.0 tablespoon of yeast. But that means that sometimes the rise isn’t complete in two hours, especially if the water or the room is cool. Don’t sweat about this– just let it go longer if it doesn’t seem to have doubled. All this is especially true in the recipes calling for eggs– to prevent slow rise there, let your eggs come to room temperature before using in recipes, and per USDA recommendations, refrigerate egg dough at the two-hour mark. Speaking of slow rising–I’ve started mixing my salt with the flour, rather than the water. My guess is that this doesn’t make much difference, but salt has some inhibitory effect on yeast, and salty water may slow your initial rise. This becomes more of an issue when you go to 1 tablespoon or less of yeast, or if you’re trying cool-water rising. Which brings me to…
6. Consider the low-yeast version of my recipes: I embraced this practice too late for my first book, but you can considerably decrease yeast, even from the 1 tablespoon that I now consider standard for a 4- to 5-pound batch. Many people seem to prefer the flavor and consider the longer initial rise time to be worth it. If you try this with egg-enriched bread, the USDA recommends that it go into the fridge at the 2-hour mark, and it will not have doubled by that time. Don’t worry, it’ll catch up during dough storage. Check out my post on the low-yeast version. If you really want to try a slow rise, which some people find heightens flavor, use cool or even cold water. But expect the rise to take days, and don’t do this with egg or dairy doughs.
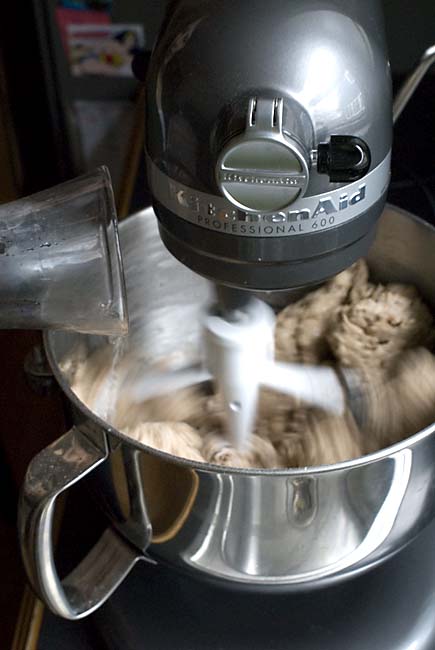
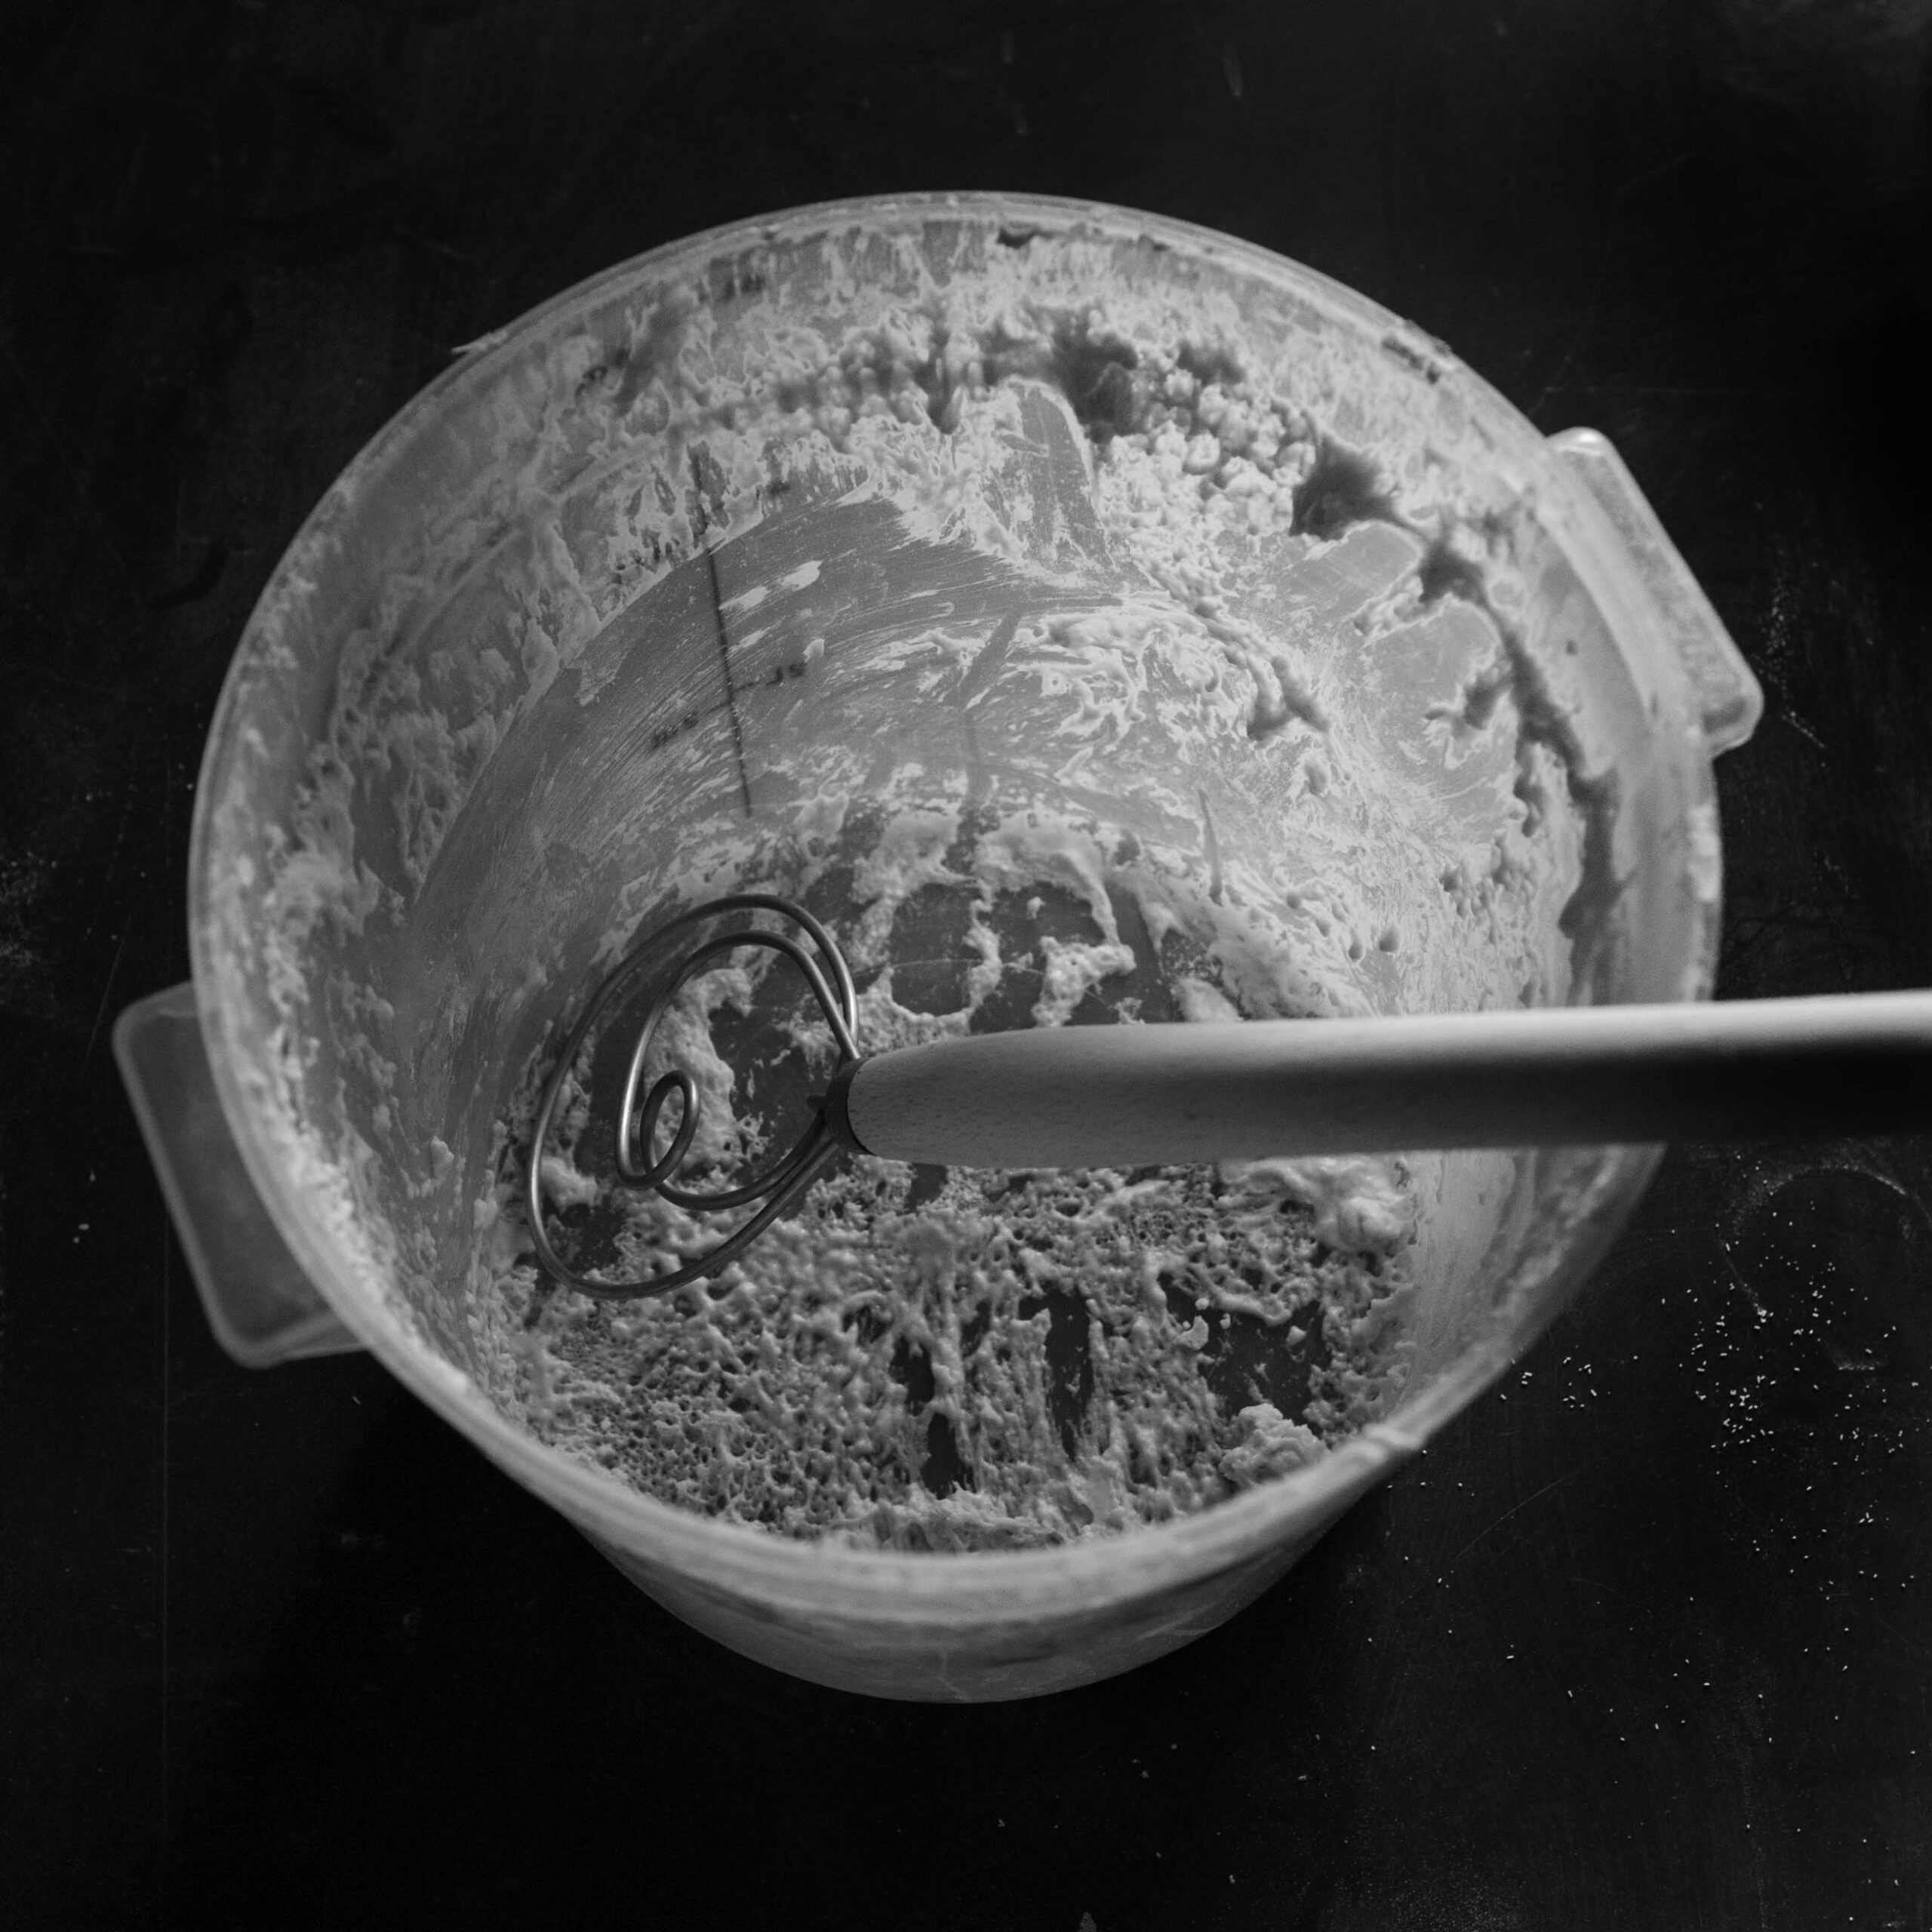
7. Get a stand mixer, and use the dough hook: In the early days, I always mixed by hand. It was satisfying, worked just fine, and it proved that you don’t need special equipment to bake bread at home. But if you’re making dough frequently, like I am, or if you have wrist or shoulder problems, the stand mixer is a miracle. I like the six-quart machines, the bowl-lift variety, because the “tilt-head” models can drip dough all over when you tilt back the head. And the six-quart capacity allows you to rise and store the dough in the same vessel in which you mixed. While I’ve used a Kitchen-Aid exclusively (my first one is going strong at 10 years), I’ve heard great things about other premium brands as well (disclosure: Kitchen-Aid sponsored a post here on the website when I reviewed the machine I use today). In my books, I make a distinction between using the dough hook versus the “paddle/flat beater” attachment to mix wet dough. Bottom line: I think the dough hook works better, regardless of your machine’s capacity (yes, that is the paddle attachment in the photo above, I loved the blur 😊). If you make recipes from my gluten-free book, the results are definitely better if you use a stand mixer. Gluten-free flours really like to be fully emulsified for best results.
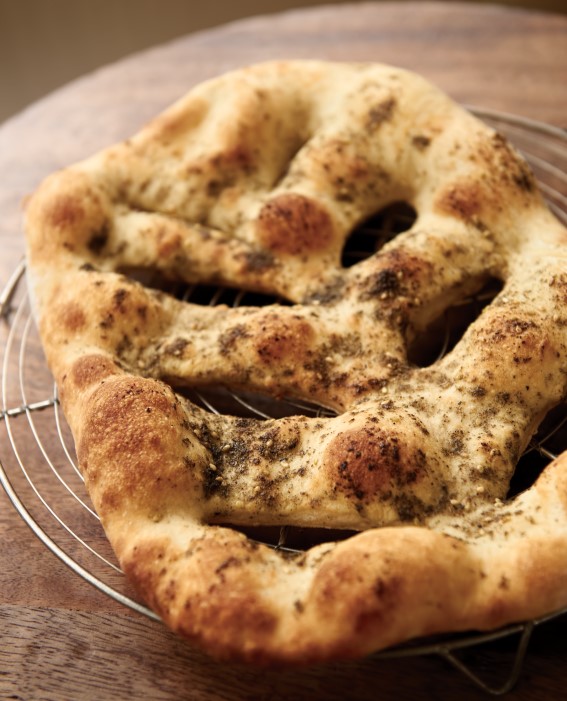
8. Fully aged dough loses some rising power, but it still makes great and flavorful flatbreads, like the fougasse above, or any pizza, from my Pizza and Flatbread book. That book is out of print and hard to find, but I have a fougasse recipe here on the website. Truth be told, pizza and flatbread have been my favorite adventures in bread, and fully aged dough works great here. You don’t need an exuberant rise with pizza or flatbread.
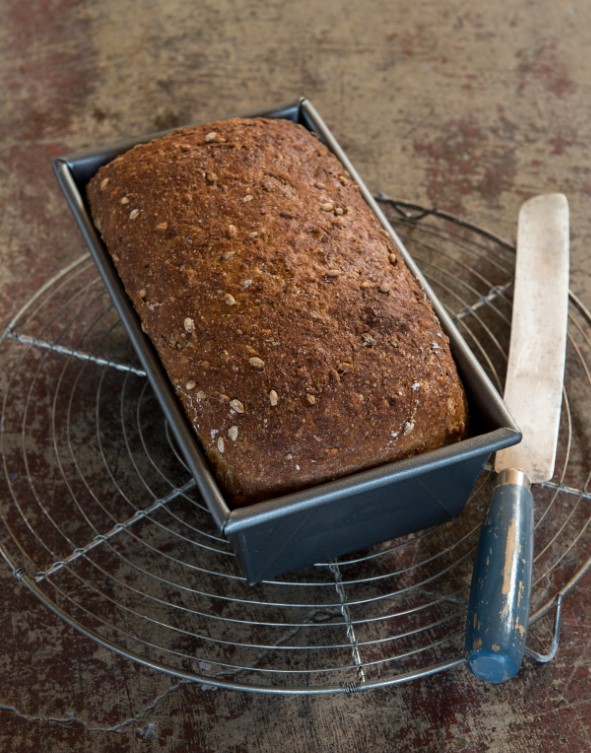
9. It’s OK to lower the oven temperature for loaf-pan breads like this one, especially for recipes high in whole grain flour: In the books, I tried to keep everything simple and consistent, so virtually all the lean breads (those made without eggs, sweetener, or much fat) are baked at 450F. Some readers, in some ovens, found that the breads were over-browning before the interior was fully baked, especially in deeper pans. If this is the case for you, turn down the heat to 400F and bake longer–it can be an hour or more for a big loaf-pan bread.
10. Sacrilege alert! Freezing bread works: I spent years as a home-based consultant and author, testing bread recipes all the time, with 24-hour access to my kitchen—and plenty of fresh bread. I found myself hacking off hunks of it all day, and eating it with butter, cheese, and jam. At one point, I must have been eating at least a half-pound of bread a day. Even if it’s whole grain—and it wasn’t always—that can’t be healthy. I had to stop the madness! If like me, bread is your weakness, consider removing the temptation: slice the bread as soon as it’s cool. Reassemble the loaf, put it into air-tight storage (I use two layers of plastic produce bags), and freeze. You can chisel off a slice (or other reasonable portion!) with a table knife, then defrost or toast. It’ll still better than anything you can get in the supermarket.
BONUS ITEM: NUMBER 11:
11. Let 1 pound (or bigger) round or loaf-pan breads rest for 90 minutes (not 40), and cover them while resting: In my first books, I called for a 40 minute rest after shaping the basic 1-pound ball-shaped bread, and for that very short rest-time, the dough surface doesn’t dry out much. Unless you’re in a very dry environment (the desert, or winter anywhere). Some people found that the rise was restricted following those directions. To take your breads to another level, cover the resting shaped loaf with plastic wrap or a roomy overturned bowl, and go for 90 minutes. Skinny loaves, or rolls–can stick with short resting times.
Note: BreadIn5.com is reader supported. When you buy through links on the site, BreadIn5 LLC earns commissions.