I love New York: in search of great bread

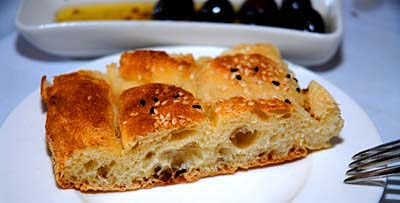
New York’s a great bread town; its best bakeries are really world class.  But if you start sampling restaurants not neccesarily known for their bread, it gets kind of variable. It’s a real disappointment to sit down to a week of great restaurant meals in one of the world’s great food cities, and find that only one of them is accompanied by good bread (pictured above; a Turkish pita with black and white sesame seeds at Zeytin Turkish Restaurant and Bar, on the Upper West Side). Zeytin’s pita, done by a bakery service, has been a bread high point of a nine-day stay in the Big Apple.

But at a fantastic little French-Algerian place, the baguette was comically dismal– it actually CRUMBLED when pressed in the hand (don’t ask about the mouth). This restaurant takes itself very seriously (the terrific and authentic couscous was $38 a plate). Why the gap between food and bread? We all need to complain more (like New Yorkers, which is exactly what our hosts did the next night, when faced with overtly stale Italian peasant bread at their reliable Midtown trattoria where they are well-known to the staff). Alas, there was no fresh bread in the restaurant at 10:30 on a Wednesday.

So for great restaurants with lousy bread, I’m proposing B.Y.O.Bread rules. Make your own and bring the stuff. It will raise eyebrows and consciousness. Meanwhile, here’s a pita recipe that WON’T puff, in the style of Greece or Turkey. Read More

Yeast: Can it be decreased in the recipes?

Return to FAQ page

Short answer:  Yes!

My method is super-fast because it’s based on stored dough, not because I use a full dose of granulated yeast in the recipes. In the 2007 edition of the first book, I used full-dose yeast (which was 1 1/2 tablespoons for four pounds of dough) because I knew that many readers would want to use the dough within a few hours of mixing it. For the 2013 update of that book, I decreased the dose of yeast to 1 tablespoon, because testing showed that the extra half-tablespoon made little difference if the water was warm (though if it wasn’t, initial rise-time stretches beyond two hours). I’d still consider that a full dose of yeast in a four-pound batch, and you can decrease to 1 tablespoon in any of the recipes, from any of my books. But if you have more time for the initial rise, you can decrease it further–by large margins.  Half-doses, quarter-doses, and even less will work. When using fresh cake yeast, increase by 50% (by volume) to match the rising power of granulated yeast. 

Why use less yeast?  Experienced yeast bakers sometimes prefer the more delicate flavor and aroma of a dough risen with less packaged yeast. And some people found that the full dose of yeast resulted in bread that tasted and smelled of beer or ale. Traditionally, it’s felt that rising the dough very slowly, with very little added yeast, builds a better flavor. So this is an option to try when you have more time:

I’ve tried it two ways, first halving the yeast (1/2 tablespoon), and then dropping it way down, to 1/2 teaspoon. Both worked, but they work slowly. For the 1/2 teaspoon version, you need to give the dough 6 to 12 hours to rise. The 1/2 tablespoon version needs something in between (about 4-5 hours). You don’t need to increase the resting time after the loaf is shaped. Active time is still five minutes a loaf, it’s just your passive resting and rising times that really escalate when you go to the low-yeast version. If you use cool or cold water with a low-yeast preparation, you’ll need 18 to 36 hours for the initial rise.

So if you’ve hesitated to try my method because you like your loaves risen long and slow, give this approach a try.

Low yeast/slow rise with egg-enriched breads: Readers have asked about the food-safety issues in trying low yeast/slow rise at room temperature with egg-enriched doughs.  Raw egg shouldn’t be left out too long at room temp. How long is too long? US Department of Agriculture (USDA) is very conservative on this question; they say 2 hours is the max (click here and scroll down for their detailed recommendations). Understand that this would make it impossible to rise a cold-started egg-enriched dough fully at room temperature (though I’ve found that two hours on the counter is enough even for a 33% yeast reduction; the problems start when you make more significant reductions, which would require 8 to 24 hours on the counter). The risk is salmonella and other food-borne illnesses. Even though eggs in baked breads are fully cooked, the USDA is clear on this: 2 hours maximum.  They’re a very conservative organization– for example, you basically can’t eat hamburger with any pink in it, according to USDA. Otherwise there’s some risk.

To stay in compliance with USDA guidelines for egg-based doughs, refrigerate at 2 hours regardless of whether the batch has fully risen.  Then, allow the rising to complete at refrigerator temperature (18 to 36 hours).

More in The New Artisan Bread in Five Minutes a Day, and my other books.

Note: BreadIn5.com is reader supported. When you buy through links on the site, BreadIn5 LLC earns commissions.

Return to FAQ page

New video and great article by Rick Nelson in the Minneapolis Star Tribune

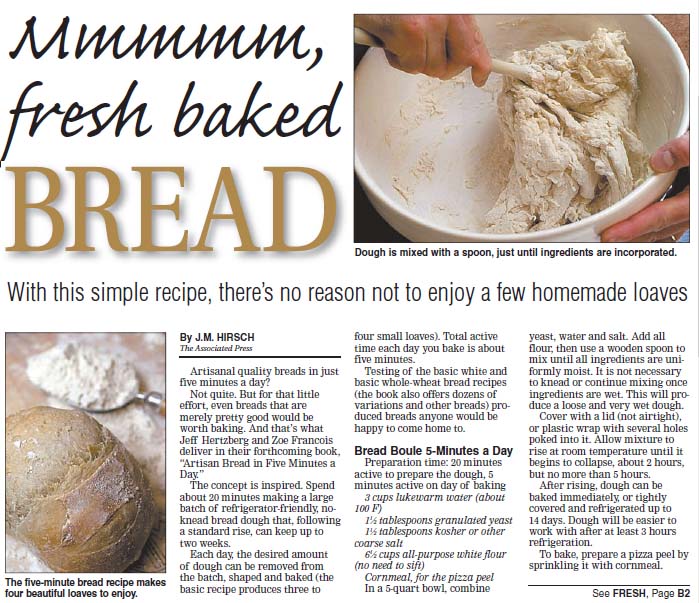
Zoe and I were interviewed last month by Rick Nelson, food writer at the Minneapolis Star Tribune, and the article came out on December 6, 2007. Rick was more than kind to us: “…If holiday gift-givers are aiming to buy one new cookbook title for the bakers in their lives, they should look no further than the remarkable Artisan Bread in Five Minutes a Day… Hertzberg and Francois should have called their burst of genius Breadmaking for Dummies — that’s how user-friendly it is… their master recipe is wildly flexible, generously adapting to a wide range of breads, pizzas, flatbreads and pastries.” Read the entire review.

We’re just as excited about Jenni Pinkley’s fantastic video that she shot for the paper’s website. Astute and attentive viewers will note Zoe’s incisive comment as the video closes. Click here to see the video. Speaking of video, I think Martha Stewart was talking about us when she interviewed legendary cookbook editor Judith Jones on The Martha Stewart Show that aired last week. Martha asked Judith (who edited Julia Child and James Beard) “what do you think of this wet bread that you hardly let rise, you hardly do anything to it, you just sort of put it in the oven?” Judith wasn’t buying; she told Martha that “kneading is the fun of making bread.” Martha asked her “I know, but what if you don’t have to?”

Couldn’t have said it better ourselves. See the video (click on the “video” tab once you get there; Martha brings up bread at 2:15 into the video).

Artisan bread flavor without the work!

A frequently asked question is…”How do I get that sour characteristic of artisan bread without having to use a starter, which is way too high maintenance?”

The answer is easy with our bread method, just wait. I mean mix up your dough, let it rise, use some if you need to immediately and then let the rest of the batch sit in the refrigerator for up to two weeks. Don’t feed it, just wait. After the 2nd day you will notice that the flavor is more complex and is starting to take on the characteristics in artisan bread that you crave: sourdough flavor, larger air holes, nice “custard” crumb and crisp tin crust. As it ages it improves, like all of us! The way I maintain that flavor in the next batch is to leave a piece from an “old” dough in the bucket and just dump the ingredients for a fresh batch right on top. Read More

Convection oven works great

Return to FAQs page

People have asked whether our recipes can be made in convection ovens. They can, and the only reason I didn’t mention convection ovens in the first book is that most people don’t have them.

But convection ovens do a great job with bread– the bread browns easier and rises higher when the convection fan is blowing. After ten years of living with a broken convection fan, I finally had a mechanic look at it who knew how to fix it. So I’ve been re-testing everything with convection.  First, lower the heat by 25 degrees F. Make sure that the convection fan isn’t fooling your thermostat (use an oven thermometer).

For a loaf-pan bread made from Italian Peasant Bread dough (page 46 of ABin5), the loaf baked faster than usual (about 25 to 30 minutes), rose higher, browned more deeply, and was more attractive. The pan was placed directly on the stone near the center of the oven and baked with steam (page 30). The loaf was heavenly when cooled and cut. Perfect custard crumb (dough was a week old) and richly caramelized crust.

In many convection ovens, you will need to be more attentive to turning the loaf around, at least once at the midpoint of baking or beyond. Otherwise you’ll get uneven browning.

But be aware that many newer convection ovens automatically make an adjustment, so consult the owners manual that came with your oven before deciding what to do about the set temperature. 

More in The New Artisan Bread in Five Minutes a Day, and our other books.

Return to FAQs page

Note: BreadIn5.com is reader supported–when you buy through links on the site, BreadIn5 LLC earns commissions.

question about weighing the flour?

Hi — your book made our Thanksgiving! My grandmother always made cinnamon rolls for Thanksgiving and I had let the tradition go because they were so much work. But this year I saw the NYT article, ran out to buy the book, and we had cinnamon rolls for Thanksgiving dinner to my sister’s and my daughter’s delight. Thanks so much.

Here’s my question: I went through a sourdough phase awhile back and got used to measuring flour with a scale. I’m excited about trying it again with your dough formulas. Is there an equivalent you’d suggest for weighing flour(s)? Different books seem to vary in what they consider the weight equivalent of a cup of flour. I’d appreciate any suggestions and again, thanks so much.

Anne Read More

Roasting “Sugar” Pumpkins for Bread Recipe

oatmeal pumpkin bread ingredients

It is nearly Thanksgiving and there are pumpkins in everyone’s shopping cart, generally in a can. If you want a real treat, that is easy and will have you wanting to skip the canned isle in the grocery store, try roasting your own pumpkin. Baking the pumpkin caramelizes the sugars and makes for a sweeter puree than boiling. You’ll want to start with a “pie” or “sugar” variety and avoid the BIG Jack-o-Lantern pumpkins which are great for carving but are too watery to eat their flesh. Once you have roasted your pumpkin you can use 1 cup for Oatmeal Pumpkin Bread on p. 100 of Artisan Bread in Five Minutes a Day, the rest is for your favorite pie recipe. Read More

Grissini– Olive Oil Breadsticks

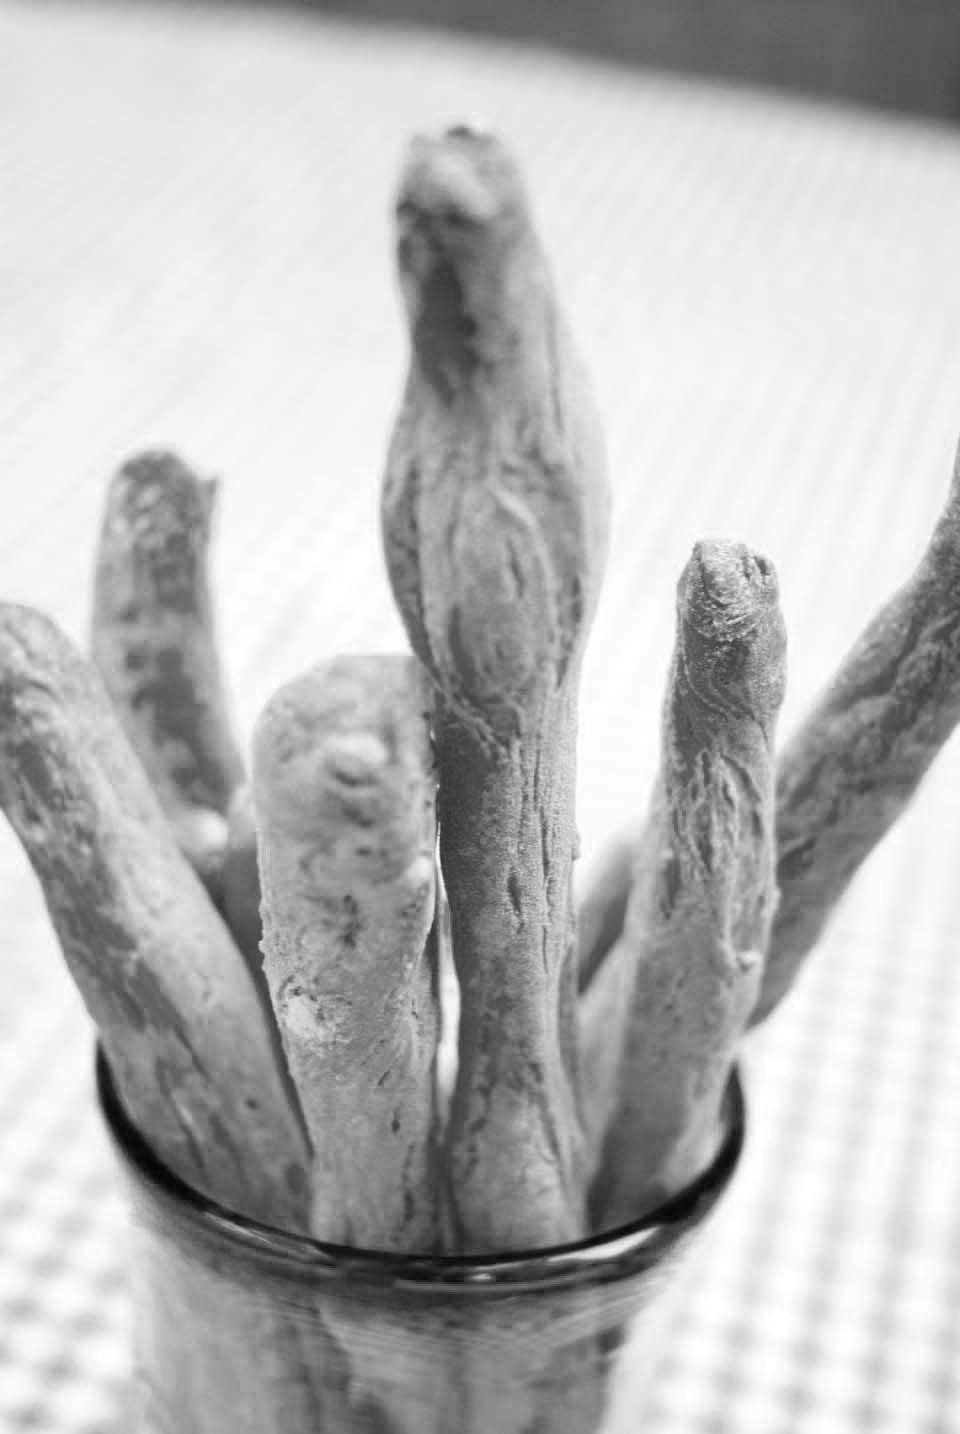
Hmm. What to do with that leftover prosciutto? Better wrap it around some Italian breadsticks (grissini). Grissini are infused with olive oil, but since the oil infuses just as nicely when drizzled over the unbaked sticks as when mixed into the dough, you have a variety of choices of which pre-mixed dough to use– you don’t have to use an olive oil dough (even our olive oil dough will need additional oil). This batch was made with a basic peasant dough (page 94), but as below, it works nicely with any of the listed ones.

All page numbers refer to my book, The New Artisan Bread in Five Minutes a Day (on Amazon and other booksellers).

Makes a generous handful of grissini

Use any of these pre-mixed doughs: Boule (page 53), European Peasant (page 94), Olive Oil (page 214), Light Whole Wheat (page 131), or Italian Semolina (page 143)

1/2 pound (orange-size portion) of any pre-mixed dough listed above

Olive oil for drizzling, preferably extra-virgin, dispensed from a small-tipped squeeze bottle

1. Preheat the oven to 400 degrees F. A baking stone is optional, but if you’re using one, allow for a 20 minute preheat, otherwise 5 minutes is adequate.

2. Line a cookie sheet with parchment paper or a silicone mat, or simply grease it well with olive oil.

2. Take a small piece of dough and gently roll it into a ball. Gradually stretch and roll the ball on a lightly floured wooden board until you achieve sticks with a diameter of about 1/8 to 1/4 inch. Lay them out on the prepared cookie sheet with an inch or so between each stick.

3. Generously drizzle a stream of olive oil over each stick.

4. Bake near the center of the oven for approximately 6 to 10 minutes. Grissini are done when they are nicely browned and beginning to crisp (they will firm up when they cool). Serve plain as an hors d’oeuvre or with one half wrapped with a prosciutto strip.

Note: BreadIn5.com is reader supported. When you buy through links on the site, BreadIn5 LLC earns commissions.