10 Things I Wish I’d Put into My Books
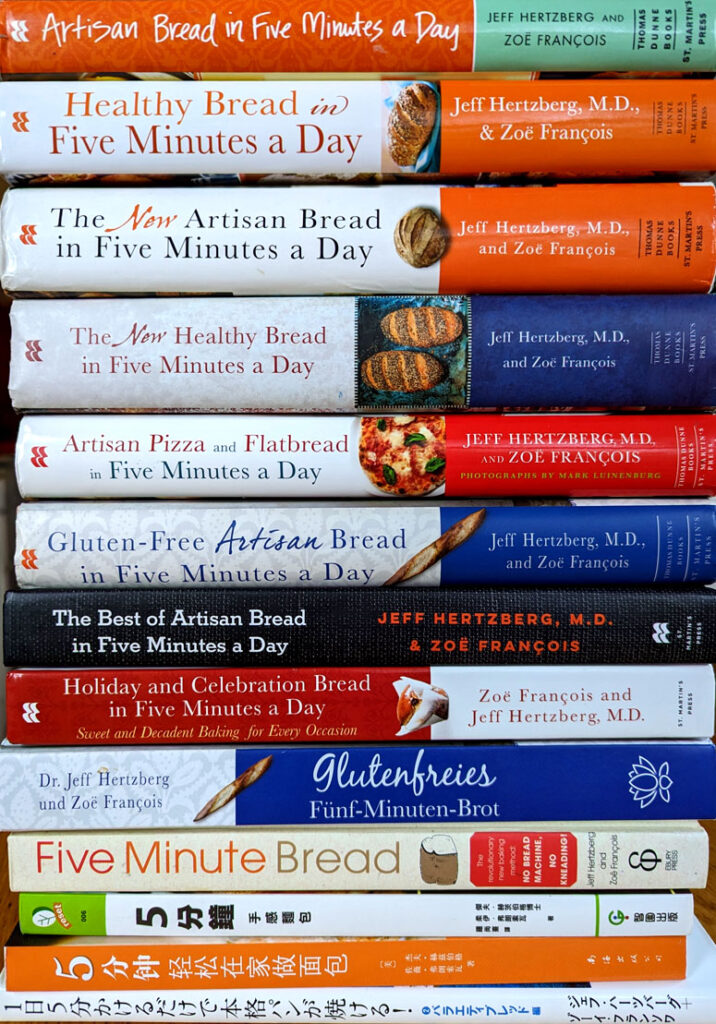
It’s been 17 years since I published my first bread cookbook, meaning I’ve spent more than 17 years learning, tweaking, experimenting with, and obsessing about bread. I included many of those discoveries and realizations in the next seven books, but needless to say I’ve thought a lot about what I’d do differently if I had it to do all over again. As author James McBride once said, “If I had known so many people were going to read that book, I would’ve written a better book.” Just kidding—I still stand by my original recipes, tips, and techniques. But if I knew then what I know now, here’s what I would’ve included:
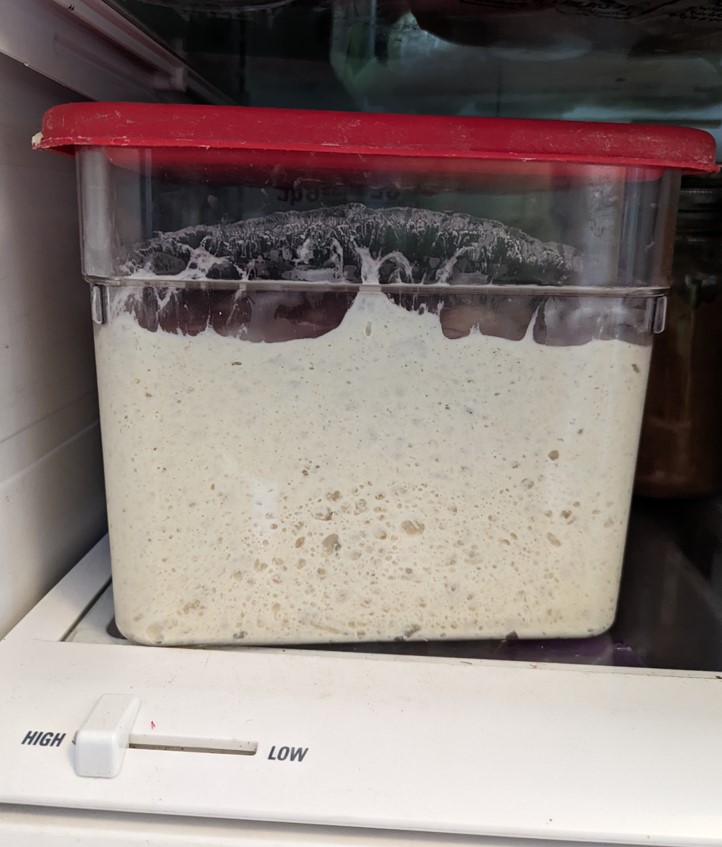
1. Always store the dough for at least a few days before you bake a loaf from a new batch: In as many words, I do say this in the books, but I didn’t want to deny readers from having fresh, hot bread ASAP. Years of trial and error, however, and sampling many, many loaves of bread (cue tiny violin), have convinced me that slightly aged dough is far superior to Day One bread. This means that you might have to stagger batches, but it’s worth it. The flavor deepens and improves in the refrigerator. The crumb develops a more open, “custard-crumb” effect. If you really can’t wait, using a little pre-fermented dough (“pâte fermentée“) can approximate the effect, but not quite as much as aging the dough, which I think reaches its peak at about the halfway point of the recipe’s storage recommendation. That said…
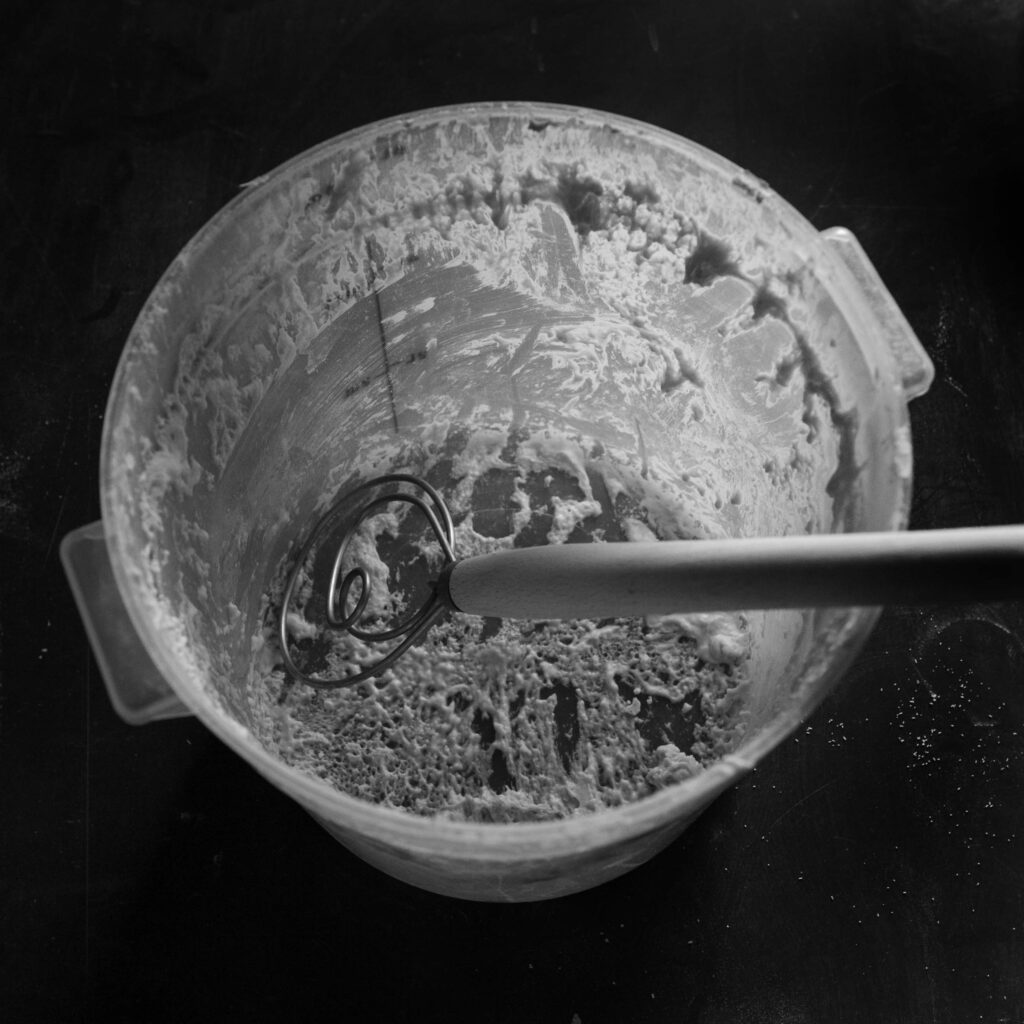
2. …Always use a little old dough (“pâte fermentée“)—about a cup or so—to jump-start flavor in the new batch, and don’t bother washing the dough bucket unless it has eggs or dairy. This is another great lazy-person trick (and laziness is what motivated me to simplify bread-baking in the first place). Just build the new batch on top of the old. And consider turning your old dough into a “sponge.” First, measure out all your ingredients for your new batch. Then, dilute your cup of old dough with water from the recipe, adding a little of the recipe’s flour, and mixing until it’s like thick pancake batter. Add a pinch of the recipe’s yeast, and let it sit overnight before incorporating into the mix. Fully aged dough can be frozen to be used this way, and that’s how I usually do it.

3. Always use a little rye flour in basic white doughs: As little as a tablespoon or two of rye in a four-pound batch deepens flavor and improves the character of white bread. Try this with my basic white-flour recipe and you’ll see what I mean. Whole wheat flour has a similar effect, though not as dramatic. Either way, it takes just a little to heighten and enhance the flavor of white bread without sacrificing its classic deliciousness.
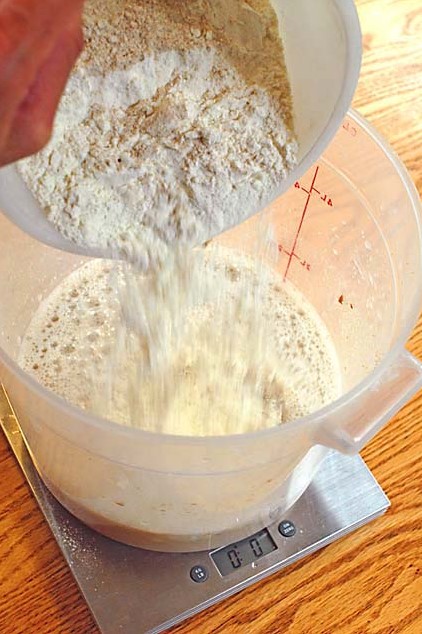
4. Weigh your ingredients: Forget about cup-measures. When my 2007 book was published, it, and most U.S. recipes were written for cup-measures; my subsequent books give weights as well as volumes. With the availability of inexpensive digital scales, the food world’s recognized weights as a more accurate way to measure ingredients, especially flours. If I were starting now, all my recipes would be in metric weights only, which yield much more intuitive numbers. The basic recipe in tip #1 above would be based on 1,000 grams of flour, and 750 grams of water (or 75% hydration by “Baker’s Percentage”).

5. Rise times may vary. Don’t sweat it. In my first book (2007), I called for 1.5 tablespoons of yeast, which is a lot for four pounds of dough. I wanted there to be zero chance of failure, because this book was aimed at non-bakers, many of whom think of yeast as the great bogeyman of the kitchen. And yes, that high yeast dose meant that in pretty much any kitchen, at pretty much any temperature, you’d get full and fast rising, with the dough at least doubling in volume within two hours. But some readers found the yeast flavor too strong, so in subsequent books, I called for 1.0 tablespoon of yeast. But that means that sometimes the rise isn’t complete in two hours, especially if the water or the room is cool. Don’t sweat about this– just let it go longer if it doesn’t seem to have doubled. All this is especially true in the recipes calling for eggs– to prevent slow rise there, let your eggs come to room temperature before using in recipes, and per USDA recommendations, refrigerate egg dough at the two-hour mark. Speaking of slow rising–I’ve started mixing my salt with the flour, rather than the water. My guess is that this doesn’t make much difference, but salt has some inhibitory effect on yeast, and salty water may slow your initial rise. This becomes more of an issue when you go to 1 tablespoon or less of yeast, or if you’re trying cool-water rising. Which brings me to…

6. Consider the low-yeast version of my recipes: I embraced this practice too late for my first book, but you can considerably decrease yeast, even from the 1 tablespoon that I now consider standard for a 4- to 5-pound batch. Many people seem to prefer the flavor and consider the longer initial rise time to be worth it. If you try this with egg-enriched bread, the USDA recommends that it go into the fridge at the 2-hour mark, and it will not have doubled by that time. Don’t worry, it’ll catch up during dough storage. Check out my post on the low-yeast version. If you really want to try a slow rise, which some people find heightens flavor, use cool or even cold water. But expect the rise to take days, and don’t do this with egg or dairy doughs.
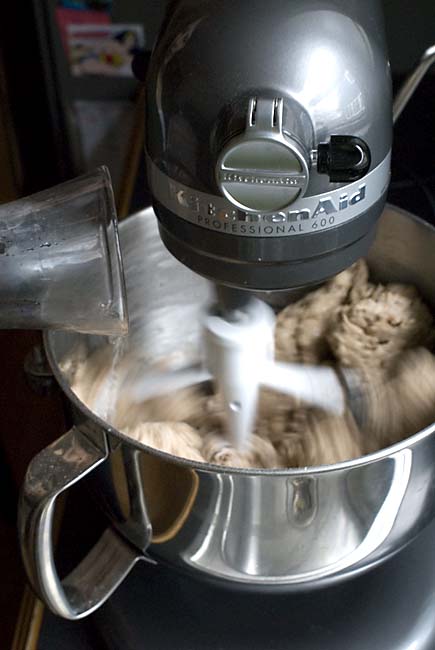
You can definitely mix by hand…

7. Get a stand mixer, and use the dough hook: In the early days, I always mixed by hand. It was satisfying, worked just fine, and it proved that you don’t need special equipment to bake bread at home. But if you’re making dough frequently, like I am, or if you have wrist or shoulder problems, the stand mixer is a miracle. I like the six-quart machines, the bowl-lift variety, because the “tilt-head” models can drip dough all over when you tilt back the head. And the six-quart capacity allows you to rise and store the dough in the same vessel in which you mixed. While I’ve used a Kitchen-Aid exclusively (my first one is going strong at 10 years), I’ve heard great things about other premium brands as well (disclosure: Kitchen-Aid sponsored a post here on the website when I reviewed the machine I use today). In my books, I make a distinction between using the dough hook versus the “paddle/flat beater” attachment to mix wet dough. Bottom line: I think the dough hook works better, regardless of your machine’s capacity (yes, that is the paddle attachment in the photo above, I loved the blur 😊). If you make recipes from my gluten-free book, the results are definitely better if you use a stand mixer. Gluten-free flours really like to be fully emulsified for best results.
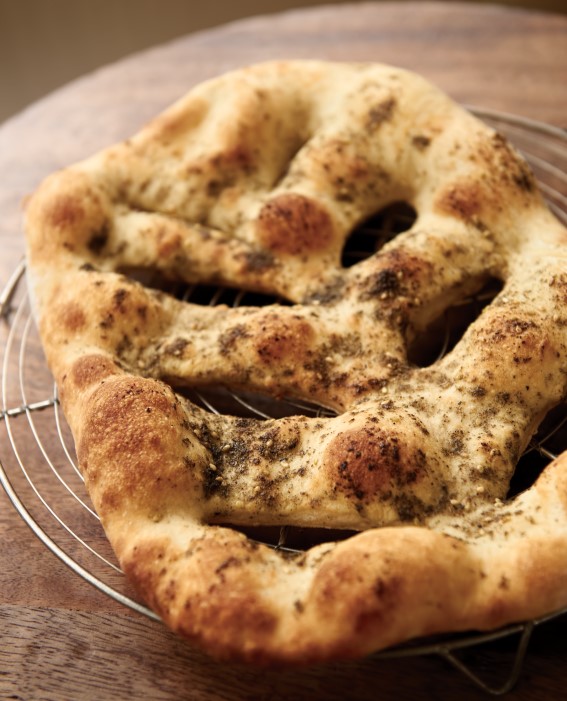
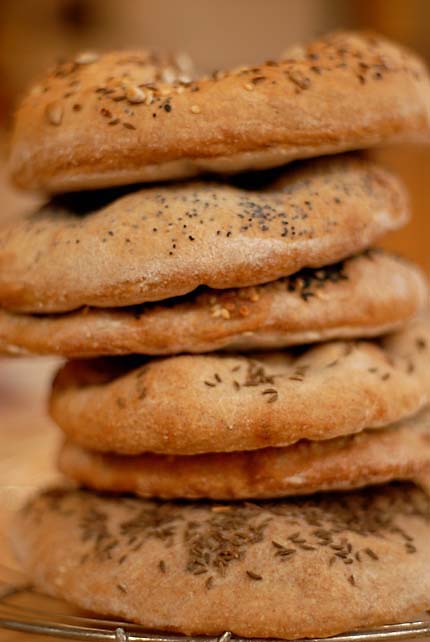
8. Fully aged dough loses some rising power, but it still makes great and flavorful flatbreads, like the fougasse above, or any pizza, from my Pizza and Flatbread book. That book is out of print and hard to find, but I have a fougasse recipe here on the website. Truth be told, pizza and flatbread have been my favorite adventures in bread, and fully aged dough works great here. You don’t need an exuberant rise with pizza or flatbread.
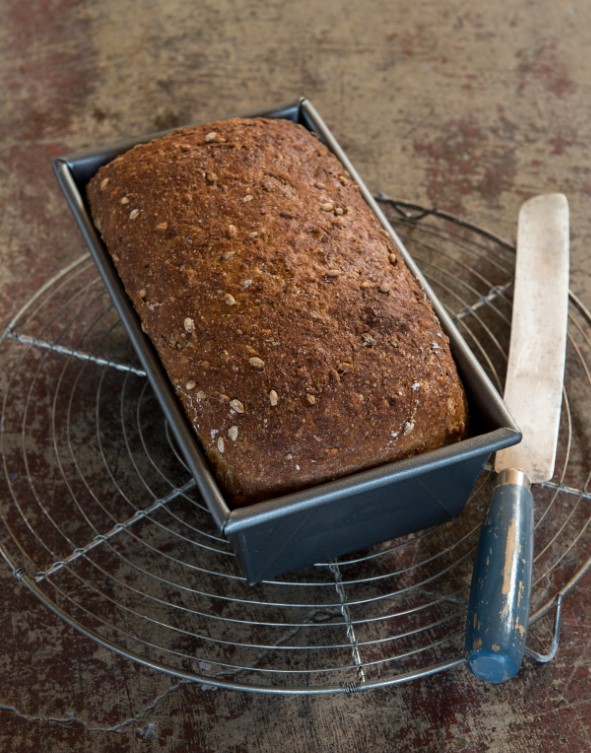
9. It’s OK to lower the oven temperature for loaf-pan breads like this one, especially for recipes high in whole grain flour: In the books, I tried to keep everything simple and consistent, so virtually all the lean breads (those made without eggs, sweetener, or much fat) are baked at 450F. Some readers, in some ovens, found that the breads were over-browning before the interior was fully baked, especially in deeper pans. If this is the case for you, turn down the heat to 400F and bake longer–it can be an hour or more for a big loaf-pan bread.

10. Sacrilege alert! Freezing bread works: I spent years as a home-based consultant and author, testing bread recipes all the time, with 24-hour access to my kitchen—and plenty of fresh bread. I found myself hacking off hunks of it all day, and eating it with butter, cheese, and jam. At one point, I must have been eating at least a half-pound of bread a day. Even if it’s whole grain—and it wasn’t always—that can’t be healthy. I had to stop the madness! If like me, bread is your weakness, consider removing the temptation: slice the bread as soon as it’s cool. Reassemble the loaf, put it into air-tight storage (I use two layers of plastic produce bags), and freeze. You can chisel off a slice (or other reasonable portion!) with a table knife, then defrost or toast. It’ll still better than anything you can get in the supermarket.

BONUS ITEM: NUMBER 11:

11. Let 1 pound (or bigger) round or loaf-pan breads rest for 90 minutes (not 40), and cover them while resting: In my first books, I called for a 40 minute rest after shaping the basic 1-pound ball-shaped bread, and for that very short rest-time, the dough surface doesn’t dry out much. Unless you’re in a very dry environment (the desert, or winter anywhere). Some people found that the rise was restricted following those directions. To take your breads to another level, cover the resting shaped loaf with plastic wrap or a roomy overturned bowl, and go for 90 minutes. Skinny loaves, or rolls–can stick with short resting times.

Buying the books

Subscribe to the newsletter

Note: BreadIn5.com is reader supported. When you buy through links on the site, BreadIn5 LLC earns commissions.

Brioche Danish With Goat Cheese and Pistachios

Brioche Danish with Goat Cheese and Pistachios | Bread in 5

If you have whole wheat brioche dough or other enriched dough (see below) in the fridge; and you want something sweet that isn’t a lot of work, this is the recipe for you. See below for links to other enriched dough recipes here on the website that would also work, but this one gives some whole grains. You’ll also need almond paste, goat cheese, and pistachios. If you’re not a goat cheese fan, swap in cream cheese, lemon curd, or orange curd.

Read More

Mini-Doughnuts for the State Fair!

We decided to miniaturize a recipe, just in time for the Minnesota State Fair. Here in Minnesota we are crazy about our Fair, and we celebrate with much eating: mostly fried foods, of course, and anything on a stick. So today we bring you mini-doughnuts, a delicious treat made easy with our dough. This particular version is made with our whole wheat brioche, which takes away a little bit of the guilt. (It could also be made with whole wheat brioche with stevia, easing your conscience even more.) The doughnuts are coated in sugar while they’re still warm, and then devoured immediately. Read More

Braided Fruit Danish… with video!

Braided danish from artisan bread in five minutes a day

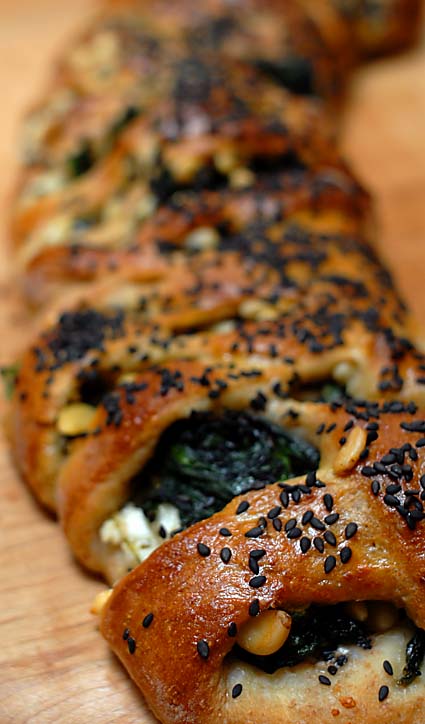
It’s not really braided.  Here’s another, with savory fillings from an earlier post; same idea but with Spinach, Feta, and Pine Nuts.

The trick is not difficult, check out the video of how it’s done (recipe is below)…

The Recipe:
1 1/2 pounds (cantaloupe-sized portion) Brioche dough (can swap Challah dough from our first book for a lighter effect)

1/2 cup softened cream cheese or substitute almond cream (blend 1/2 cup almond paste with 1/4 cup softened butter, 1/4 cup flour, 1 egg, and 1/4 teaspoon almond extract in a food processor; freeze excess)

1/2 cup raspberry or strawberry jam or preserves

1 cup fresh raspberries or sliced strawberries

Egg wash (1 egg beaten with 1 tablespoon of water)

Sugar for dusting the top

Line a baking sheet with parchment paper or a silicone mat.
Roll out the dough into a narrow rectangle 1/8-inch thick.
Place the dough onto the lined cookie sheet.  Cover the center third of the dough with the cream, jam, and berries as in the video.
Use a pizza wheel to cut about 12 strips down each side; each strip should be about 1/2-inch wide.  Fold the strips, left over right, crisscrossing the filling.  Allow to rest for 40 minutes (20 in a pinch).
Preheat the oven to 375F.  Brush with egg wash and sprinkle generously with sugar.
Place cookie sheet in center of the oven and bake for about 35 minutes or until golden brown and bubbling.  Can serve slightly warm.

And we have a savory version, with spinach, feta, and pine nuts…

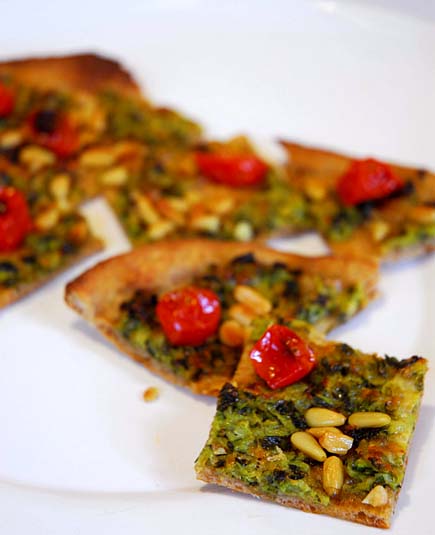
Zucchini Flatbread with Roasted Tomato and Pine Nuts for the Minneapolis Bread Festival

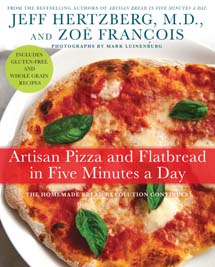
Sometimes you just don’t know when to leave well enough alone.  This savory flatbread was in Healthy Bread in Five Minutes a Day (2009), and I was making it tonight as a side dish for a simple baked Coho Salmon with dill.  I’m back on a pizza and flatbread kick again, since our new pizza and flatbread book is coming out in 28 days:

I wanted something to brighten up the flavor and color of all those soft lovely green things—roasted cherry tomatoes did the trick.  The tangy acidity was perfect for cutting the softer flavors of the zucchini, parsley, cheese, and nuts.  The tomatoes weren’t in the original recipe, and neither version has ever appeared on our website before, so here goes.  Plus, I’m going to be doing a demo this Saturday, October 1 at 10:15 am at the Minneapolis Bread Festival, and they’re asking for something like this.  Hope to see you at the festival, but if you can’t make it, give this a try here.  Our pizza book is available for pre-order on Amazon and will ship October 25. Read More

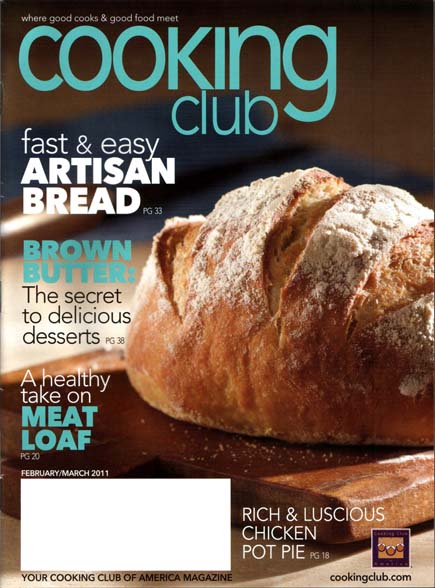
We’re on the cover of Cooking Club Magazine, with a full four pounds of dough

I love the Twin Cities.  No one thinks of Mpls-St. Paul as a big media center, but wonderful local networks make all the difference for locally grown books like ours.  Zoe and I were introduced to Cooking Club Magazine though a colleague at Cooks of Crocus Hill, where we teach all the time.  She works at Cooking Club, made an introduction, and it turns out that the magazine is produced right here in the Twin Cities metro.  Locally produced, but with a national circulation of loyal readers numbering over 550,000– it’s a fantastic magazine.  Voila– they asked us to write a story, which they used on their February/March cover.

The magazine ran a scaled-up version of our basic recipe— one that produces a generous four pounds of dough (the version in Artisan Bread in Five Minutes a Day makes 4 loaves that are slightly lighter than a pound, more like 0.9 pounds).

For more on our basic white-flour recipe, check out our Back to Basics link and fire any questions you have our way.

I posted a comment to this site but it hasn’t appeared. What happened?

Return to FAQs page

If you don’t find the answer to your bread questions on the Frequently Asked Questions (FAQs) tab, we encourage you to post into any of our “Comments” fields by clicking on the line that says “Leave a Comment” or “X Comments” just under the date of each post.

But please remember, our blog/website is moderated.  That means that your comment doesn’t appear on our website until it has been approved, especially if you’ve never posted to our site before.  That could take up to 24 hours.  Here are some guidelines for comments that we are not willing to approve for our site:

  1. References to commercial sites or endorsements for products, especially if the Authors haven’t used or otherwise can’t vouch for the product.  In particular, our webmaster has asked that we not have visitors put website addresses (URLs) into our site, so we take those down. The converse is also true– if you say that you dislike a product, we may remove or edit your comment unless we’ve had the same experience with it.
  2. Website URLs: Please don’t direct people to your own site. We reserve the right to remove any URL from comments.
  3. Health claims: The science behind health claims made by products and about ingredients is often murky and controversial.  We’re happy to answer questions about the health of ingredients or techniques in our books,  but please don’t make complex health claims here on the website–in particular, claims about weight loss or disease prevention/control related to food ingredients. Like product endorsements, we’re likely to remove those kinds of comments.
  4. Incorrect material: If you post instructions or tips about baking that we know are wrong or won’t work well with our method, we reserve the right to take them down or not approve them in the first place. Our site serves as an information source for bakers and we have to be careful about recommendations that appear.
  5. Offensive or rude remarks: Usual manners apply!  (Thank you)
  6. Pingbacks: Please don’t set up your own blog to insert Pingbacks into our site.

Pretty much everything else is fair game.  One other thing— very rarely, we simply miss someone’s comment.  It’s just an oversight; if we haven’t answered you within 48 hours and you met the guidelines above, please “comment” again.

Note: BreadIn5.com is reader supported. When you buy through links on the site, BreadIn5 LLC earns commissions.

Return to FAQs page

Left the dough on the counter overnight! Can I still use it?

Return to FAQs page

After mixing the dough, our recipes only require two hours at room temperature for their initial rise (assuming you’ve used lukewarm water); then the container goes into the refrigerator where it can be stored for up to two weeks (depending on the recipe). According to the U.S. Department of Agriculture, the answer to this question depends on whether or not there were eggs in the recipe. Their website says that eggs should be refrigerated after two hours at room temperature (see their website, scroll down to relevant section).

For our doughs without eggs, when we’ve occasionally forgotten a batch and left it on the counter overnight, we’ve found that this has little effect on the final result, maybe just shortens the batch life by a day or two. If you find that you aren’t getting enough rise in two hours for non-egg dough rising at room temperature, you can go longer.

So, what would USDA recommend if you’re doing a long rise with dough containing eggs? Sounds like the first two hours are safe at room temperature, then into the refrigerator to complete the rising. We leave it to our readers to decide about how to handle egg doughs in light of USDA’s recommendation.

More in The New Artisan Bread in Five Minutes a Day, and our other books.

Note: BreadIn5.com is reader supported. When you buy through links on the site, BreadIn5 LLC earns commissions.
Return to FAQs page

Cornell Bread

pitas-on-edge

Return to FAQs page

(… and a recipe for pitas from so-called “Cornell” dough).  Our third book will be officially released on October 25, 2011, but it’s now available for Pre-Order on Amazon! To view the book’s cover, which is now finalized, click here. It will have pizza and flatbreads from all over the world—plus, the recipes will be complemented with soup, salad, and dip recipes so that these pizzas and flatbreads become the basis of an entire five-minute meal.  As in all our books, the idea is to do all the mixing once, but serve many times from a big batch.  That’s a perfect fit for soups and dips (and you can get a salad ready while your bread’s in the oven).

Turns out that you can make great flatbreads (like the pitas above) using a modification of our Whole Grain Master Recipe (that original appears in Healthy Bread in Five Minutes a Day).  The modification was inspired by “Cornell Bread,” a bread baked from soy-enriched dough originally developed as a vegetarian protein source during World War II.  Many of you have asked us about whether our recipes work with some soy flour— they do…          Return to FAQs page, or scroll down for more on Cornell Pitas…

Read More

Kohlrabi Greens Pesto for Grilled Pizza

csa-cornucopia

This year my family finally signed up for a CSA (Community Supported Agriculture) share.  Every Friday, our farmer wakes before dawn and drives to the Twin Cities and other communities to deliver the week’s bounty of organic produce.  We pick up a half-share; above is just a portion of one Friday’s haul (though this year’s drought has definitely decreased the crop).

Every week, we get whatever’s in the box.  I’d never eaten Kohlrabi before  (the bulbous thing on the right, with greens growing out of it).  When you get lots of something you’ve never eaten, there’s only one thing to do, at least at my house… make it into bread or pizza… Read More