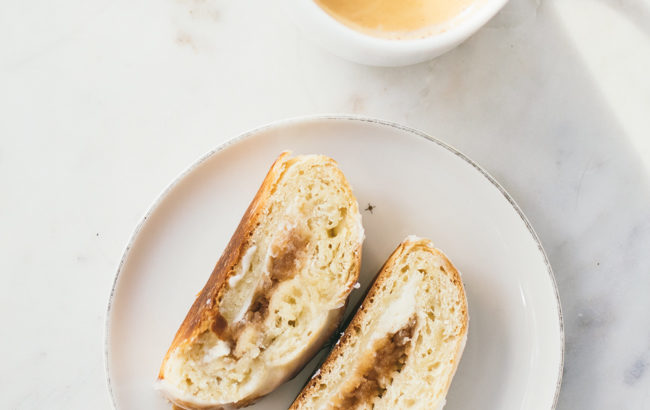
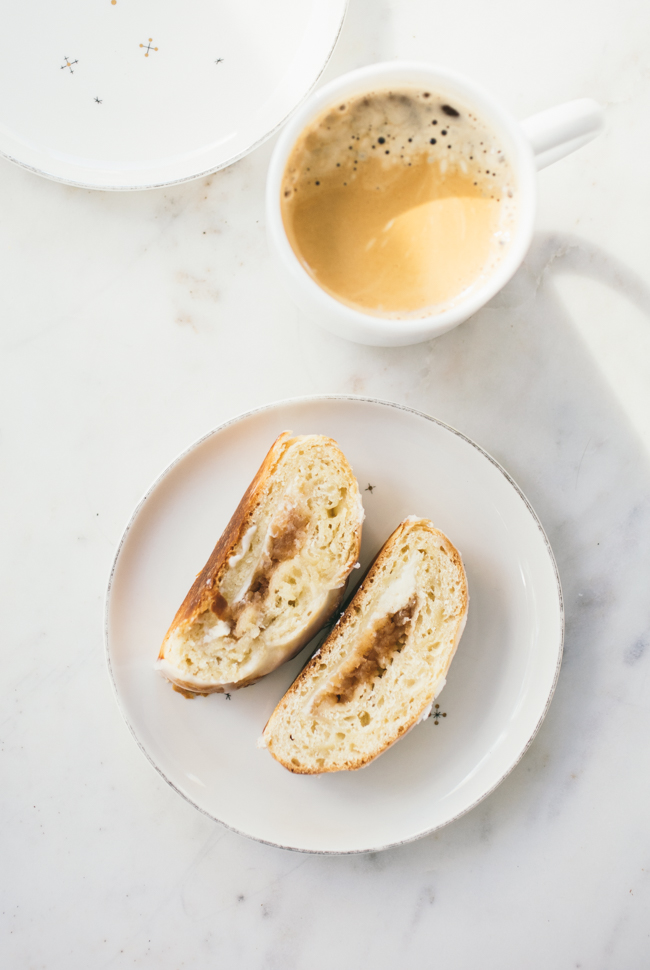
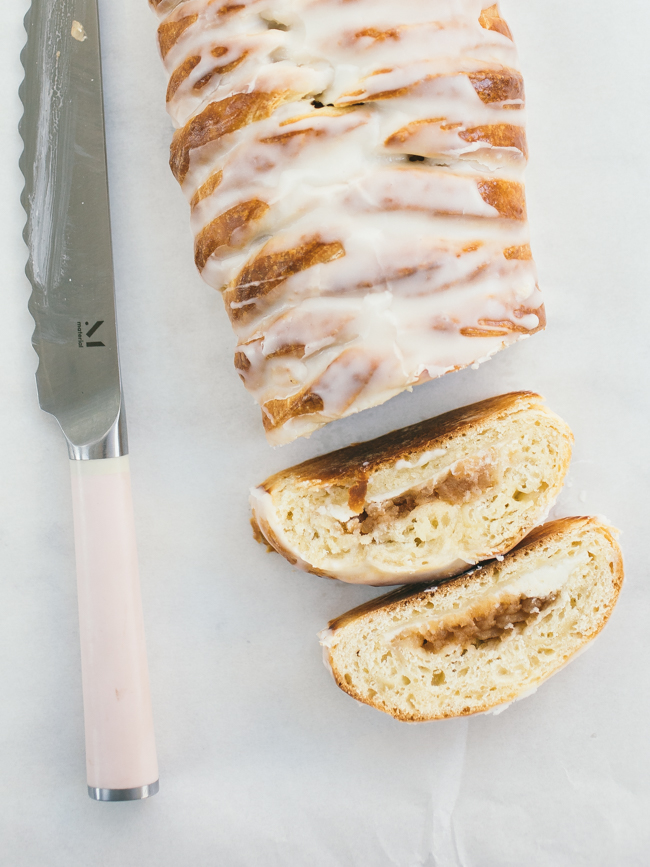
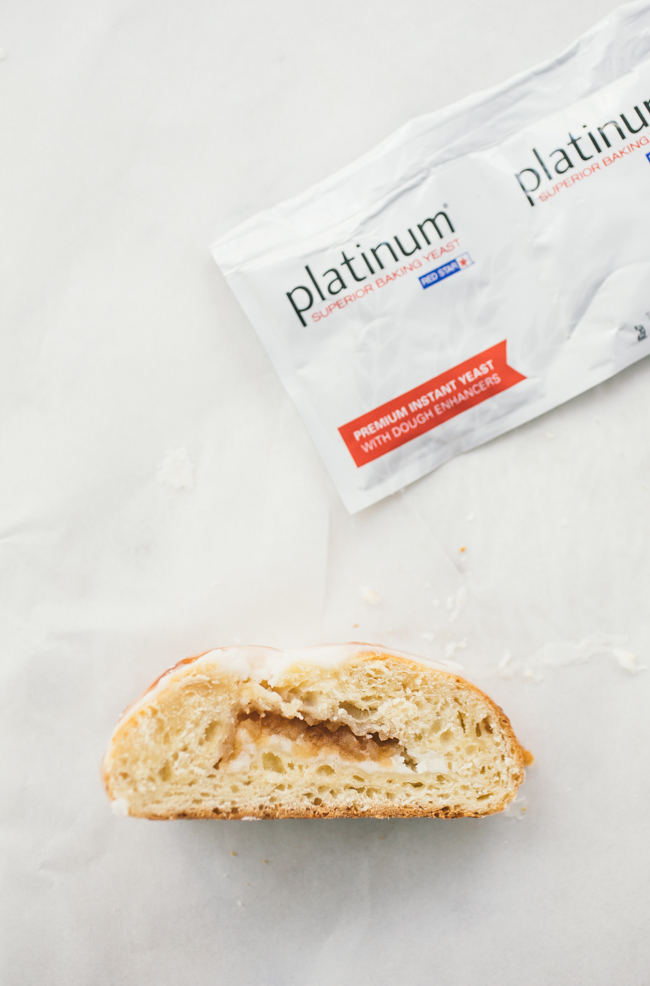
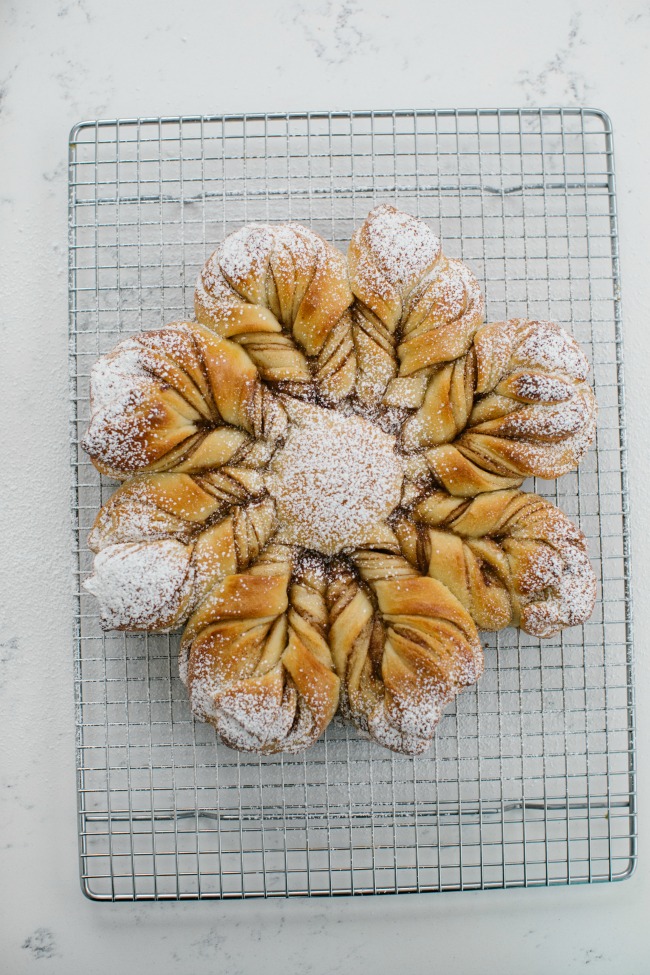
zeppole

Zeppole (Italian Christmas doughnuts): with Instagram-Live video

Zeppole are a traditional Italian doughnut–a Christmas treat, but the internet holds many different descriptions and definitions of what they are. Some versions are carefully piped, some are made as small doughnut holes, and some are roughly free-form. Years ago I ate the latter rendition in New York at the San Gennaro Street Festival in Little Italy, (which is held in September, so these aren’t just for Christmas) and he loved them so much he knew we needed a post about them.

The version here is based on the Beignet recipe from my book New Artisan Bread in Five Minutes a Day; the dough is no-knead, of course, and is lightly flavored with orange and lemon. I must admit I was a little nervous not pulling out my doughnut cutter to make perfect circles, but we need to embrace the irregular shape: let go and toss the roughly-shaped dough in to the very hot oil.

The golden brown Zeppole that emerged a few minutes later were absolutely delicious; their haphazard shapes gave them a charming quality, and the gentle citrus flavors were lovely. I’m not Italian, but these really are too good not to anyone’s Holiday tradition. And if you’ve been to the blog before at this time of year, you’ll remember these zeppole are very, very similar to Hannukah soufganiot (see the soufganiot post for more on frying up doughnuts).

On Instagram.com/breadin5, you can watch an Instagram reel and see the zeppole-frying! 
Zeppole

This recipe is based on the beignet recipe from our book, New Artisan Bread in Five Minutes a Day, page 316.

2 3/4 cup lukewarm water

1/4 cup orange juice

1 tablespoon granulated yeast

1/4 cup granulated sugar

1 tablespoon lemon zest (you will need a microplane zester)

1 tablespoon Morton Kosher Salt

6 1/2 cups all-purpose flour

Vegetable Oil – 3 to 4 inches deep (use a pot that is large enough that your oil is not sitting too high in the pot)

Confectioners’ sugar for sprinkling

Combine the warm water, orange juice yeast, sugar, lemon zest, and salt in a 5-quart bowl; preferably, in a lidded (not airtight) plastic container or food-grade bucket. Mix until all of the flour is incorporated using a stand mixer or dough whisk. Cover, and allow to rise at room temperature for 2 hours. You can use the dough right away, or refrigerate it for up to 14 days.

On Baking Day (if you need to see a visual, you can check out our other post on doughnuts here, with more pictures on shaping and frying).

Line a baking sheet with parchment paper, and lightly grease the parchment.

Pull out 3 oz pieces of dough (peach-sized) piece of dough, and flatten them slightly (the whole bucket of dough will make 15 to 20 zeppole, but you can do fewer pieces if desired). Place them on the prepared pan and cover with a lightly greased piece of plastic. Allow the dough to sit for at least 20 minutes (and up to one hour) while the oil heats up.

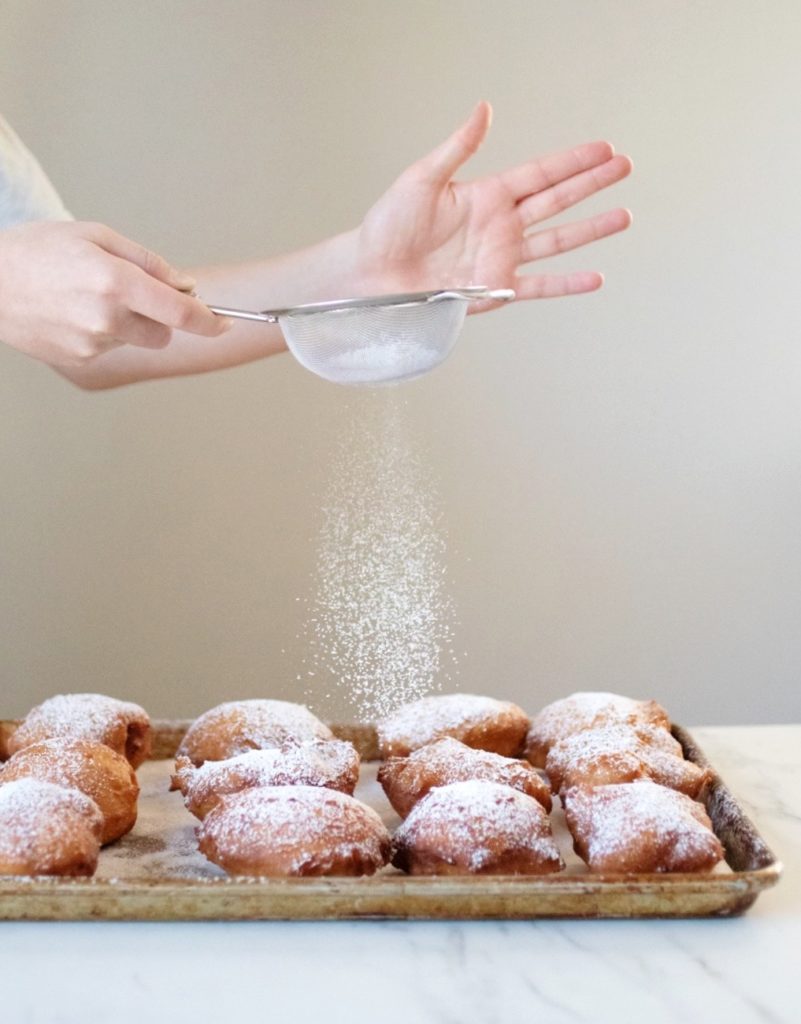
Once your oil reads 360-370°F on a Candy Thermometer you are ready to fry. Use a slotted spoon or Basket Strainer to flip the doughnuts over after about 2 minutes and then to take them out of the oil once they are golden brown on both sides. This works best with two people – have one person shape the dough, and the other to manage the submerging and turning. Try to keep the oil temperature as consistent as possible. Lay them out on paper towel to allow some of the oil to drain off. Let the zeppole sit for a few minutes, then lightly dust with confectioners’ sugar. Serve warm.

Note: BreadIn5.com is reader supported–when you buy through links on the site, BreadIn5 LLC earns commissions.
Tea Ring with Eggnog Glaze

Holiday Tea Ring with Eggnog Glaze

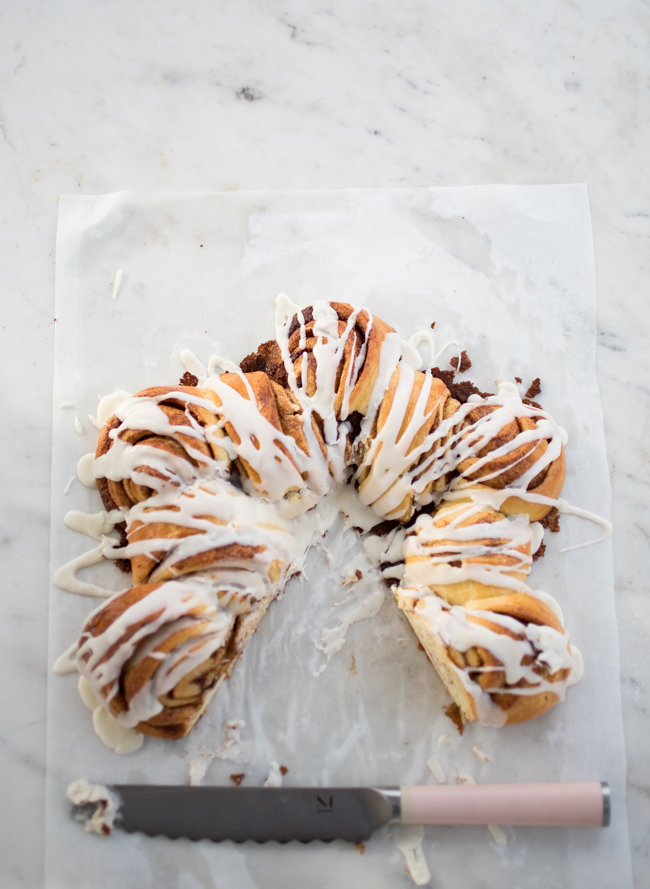
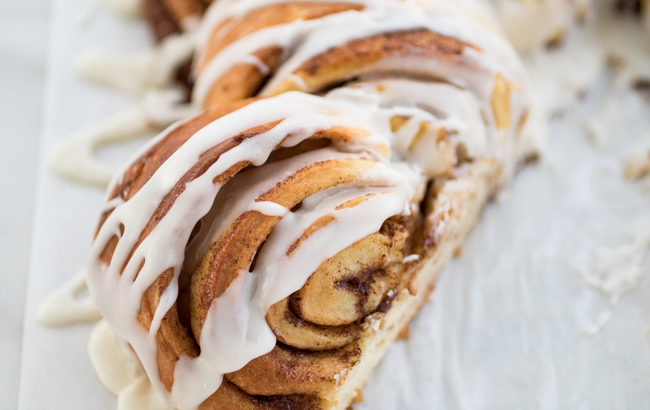
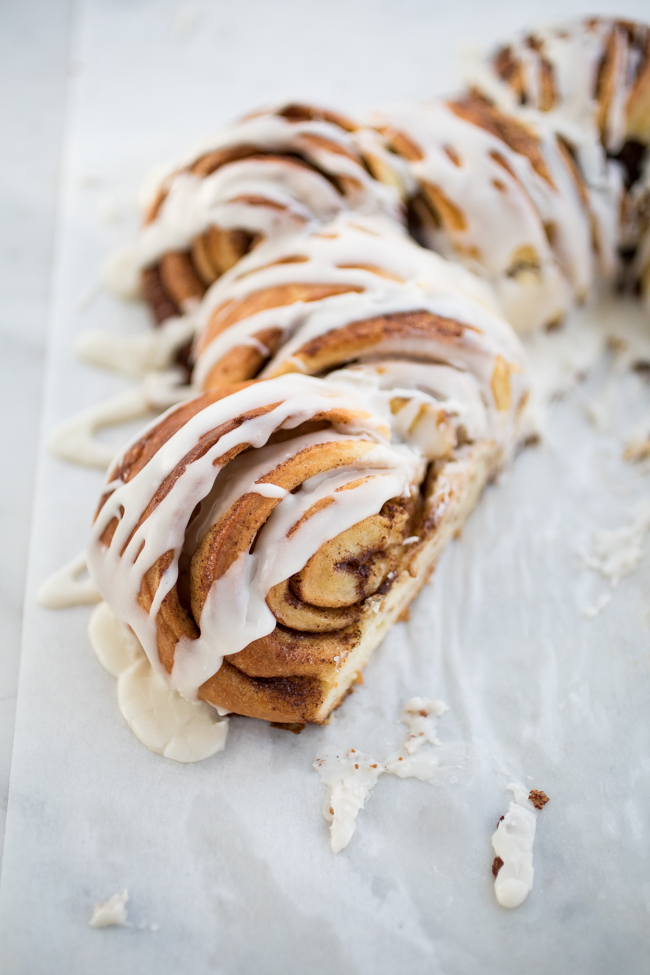
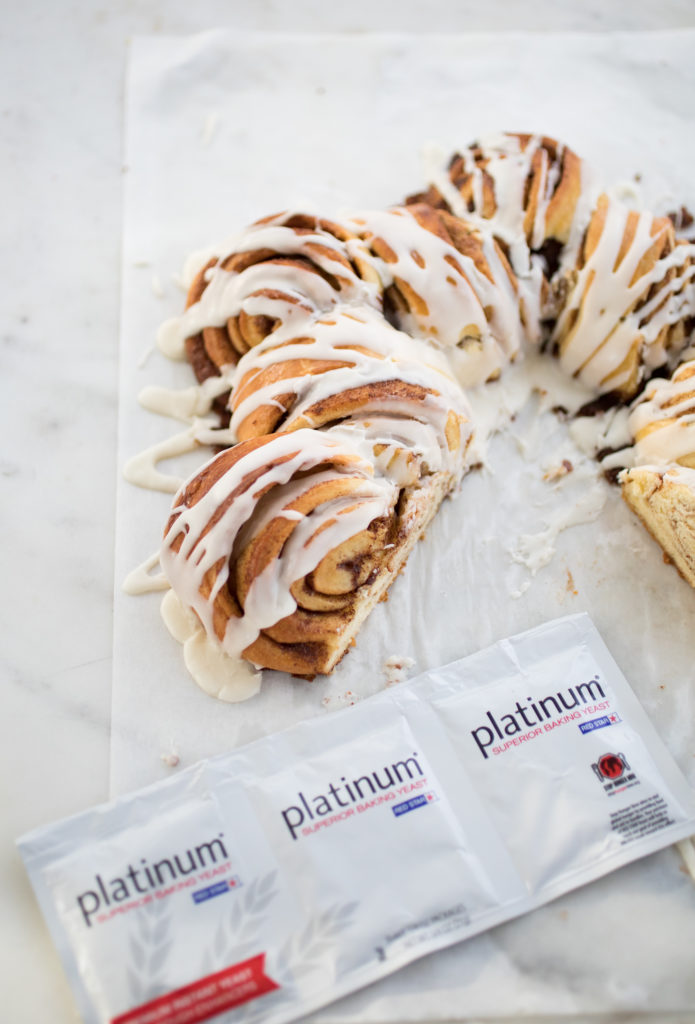
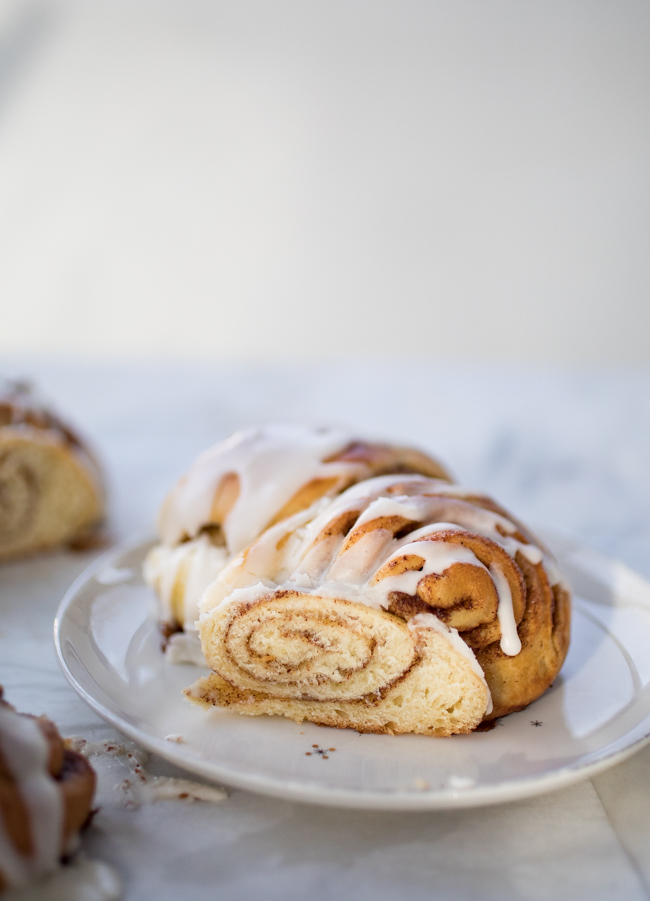
This tea ring is an ultra fancy cinnamon roll, baked as wreath and topped with an Eggnog Glaze. The cuts and twists of the dough make for a super-festive bread that is actually really easy to make, so don’t leave this one just for the holidays.

If you head to our Breadin5 Instagram page, you can watch our stories and see us make the tea ring! You can also check out other holiday posts: Holiday Star Bread, Panettone Monkey Bread, Chocolate Chestnut Bread, and Stollen Buns.

We hope you have a happy holiday, however you celebrate. Here’s to a healthy and happy 2021.

Dough

1 1/2 cups lukewarm water

1 tablespoon Red Star Platinum Yeast

1 tablespoon Kosher salt

1/2 cup granulated sugar

2 large eggs, room temperature

1/2 cup vegetable oil

1/4 cup bourbon

2 teaspoons pure vanilla extract

6 1/2 cups all-purpose flour

Cinnamon filling

3 tablespoons unsalted butter, melted

1/4 cup brown sugar

1 tablespoon ground cinnamon

Eggnog Glaze

1 tablespoon unsalted butter, melted

2 to 4 tablespoons eggnog

1 teaspoon pure vanilla extract

1 1/2 cups confectioners’ sugar

Bourbon, optional

For the dough

Mix the water, yeast, salt, sugar, eggs, oil, bourbon, and vanilla in a 6-quart bowl or lidded (not airtight) food container.

Mix in the flour without kneading, using a heavy-duty stand mixer (with paddle/flat beater), a Danish dough whisk, or a wooden spoon. If you’re not using a machine, you may need to use wet hands to incorporate the last bit of flour. The dough will be loose but will firm up when chilled (don’t try to use it without chilling).

Cover (not airtight) and allow to rest at room temperature until the dough rises for 2 hours.

The dough can be used as soon as it’s chilled after the initial rise, or frozen for later use. Refrigerate the container and use over the next 5 days.

On baking day: Line a baking sheet with parchment or silicone mat.

In a small bowl, combine the melted butter, sugar, and cinnamon.

Dust the surface of the refrigerated dough with flour and cut off a 1 1/2 pound (small cantaloupe-size) piece. Dust the piece with more flour and quickly shape it into a ball by stretching the surface of the dough around to the bottom, rotating the ball a quarter-turn as you go.

Using a rolling pin, roll the dough out to a 1/8-inch-thick rectangle, about 14 x 18 inches. As you roll out the dough, add flour as needed to prevent sticking.

Spread the butter mixture evenly over the dough.

Starting with the long side of the dough, roll it up into a log. Pinch the seam closed. Stretch the log until it is about 1 1/2 inches thick. Join the 2 ends together. Place on the prepared baking sheet. Stretch the dough to make sure you have a nice, wide opening in the middle of your wreath, but leave plenty of room around the edge.

Cover loosely with plastic wrap and allow to rest at room temperature for 40 minutes.

Preheat the oven to 350F, with a rack placed in the center of the oven.

Brush lightly with the egg wash. Make evenly spaced cuts all the way around the wreath about 1 inch apart. The cuts should go just about to the bottom of the ring, but not quite to the bottom.

Gently pull every other piece to the outside of the ring and then twist that piece to face up. Do the same with the remaining pieces, but have them face up on the inside of the ring. The ones on the inside of the ring may not lay flat on the baking sheet, which is fine.

Bake for 25 to 32 minutes, until golden brown and well set.

Make the glaze: In a small bowl, mix together the melted butter, 2 tablespoons egg nog, and vanilla until smooth. Add the confectioners’ sugar and mix until the mixture is smooth. Add more eggnog (or bourbon!), 1 tablespoon at a time, until the desired consistency is reached. Pour the glaze over the warm braid, then serve.

Eat and enjoy!

Red Star Yeast provided yeast samples for recipe testing, and sponsors BreadIn5’s website and other promotional activities. BreadIn5.com is reader supported–when you buy through links on the site, BreadIn5 LLC earns commissions.
Crock Pot Monkey Bread

Baking with Kids: Crock Pot Monkey Bread

The school year is upon us, and many parents and kids alike are finding themselves in a completely new routine. Our children are trying to navigate distance learning, hybrid learning (or something in-between) while parents are juggling jobs and their new teaching career. It’s wild, and often overwhelming, to say the least.

Since our kids are now home more, they are encouraged to take on more responsibility; we all have to pitch in to make our Covid lifestyles work. One area they are taking charge in is the kitchen: chopping vegetables, baking bread, and learning to use the Crock-Pot are all on their to-do lists.

There are several recipes here on our site for Crock-Pot breads, and they have been a huge hit. Teaching kids to use the Crock-Pot is a win-win: it’s easier to use than the oven, and there is less chance of getting burnt transferring items in and out of it. Combine it with the ease of this no-knead bread, and the options are endless.

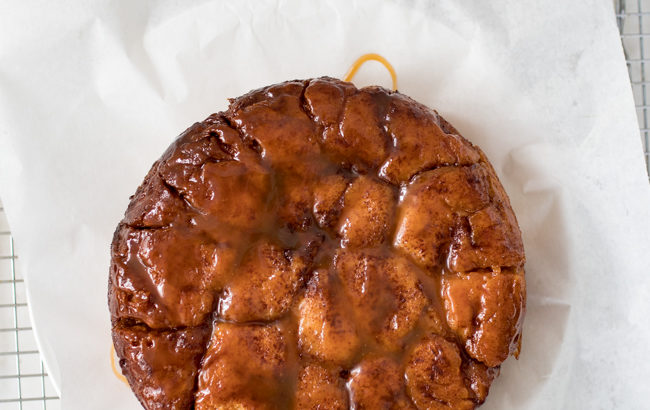
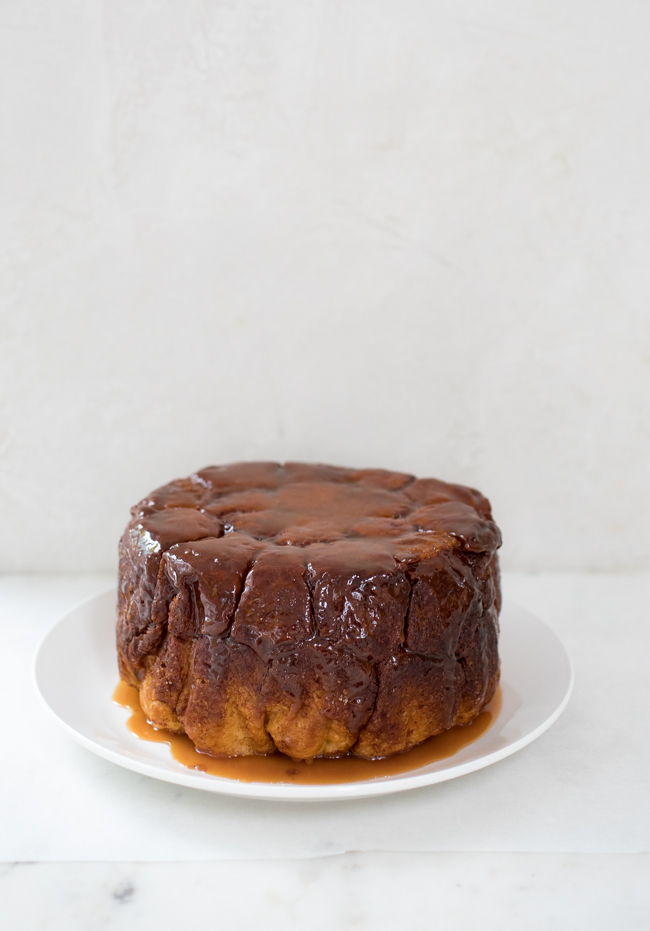
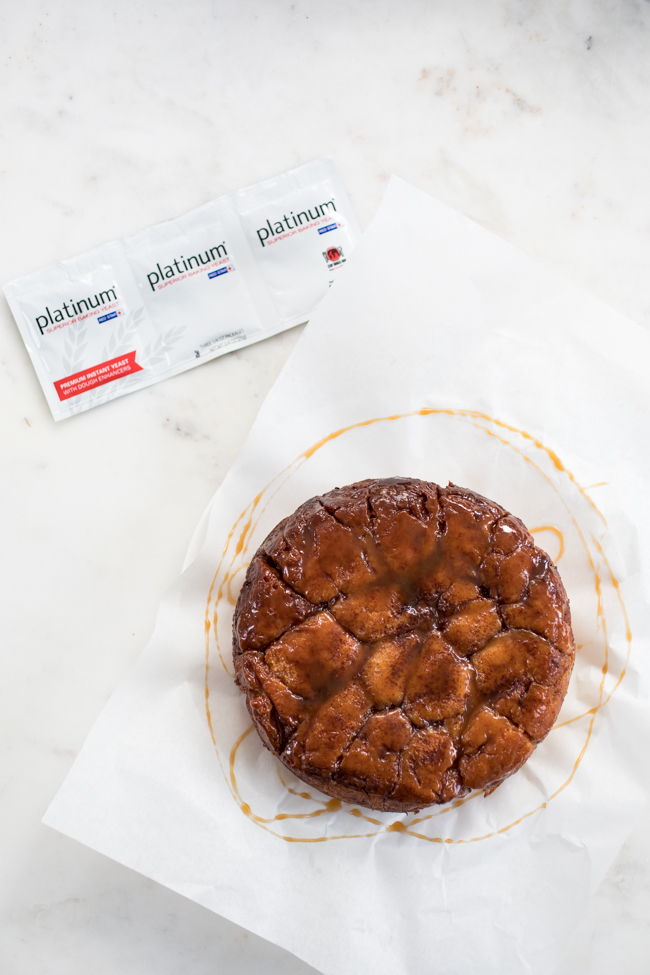
We’ve made this bread extra-simple by topping it with store-bought caramel sauce that is poured on after baking, so you don’t have to worry about transferring and flipping hot caramel.

And, if you need more Crock-Pot ideas, check out Crock-Pot Cinnamon Rolls, Crock-Pot Challah, Crock Pot Brioche, Gluten-Free Crock-Pot Bread, and Crock-Pot Dinner Rolls.

Brioche dough, from New Artisan Bread in Five Minutes a Day (makes about 4.5 pounds of dough)

1 1/2 cups lukewarm water

1 tablespoon granulated yeast (any type)

1 tablespoon kosher salt

6 large eggs

1/2 cup [170 g] honey

1 1/2 cups [340 g] unsalted butter, melted and cooled slightly

7 cups [990 g] unbleached all-purpose flour

Filling

8 tablespoons [1 stick, or 114 g] unsalted butter, melted

1 cup [200 g] granulated sugar

1 1/2 tablespoons ground cinnamon

1/8 teaspoon salt

3/4 cup store-bought Caramel Sauce

For the dough

Mix yeast, salt, eggs, honey and melted butter with water in a 6-Quart Round Food-Storage Container with Lid (not airtight) container.

Mix in flour without kneading, using a spoon, a Danish Dough Whisk or a heavy-duty stand mixer (with paddle). The dough will be loose but will firm up when chilled.

Cover (not airtight), and allow to rest at room temperature until dough rises for approximately 2 hours. Then refrigerate for at least four hours before first use; it is easier to handle when thoroughly chilled. This dough can be stored for up to 5 days in the fridge. Beyond that, the dough stores well in the freezer for up to four weeks in an airtight container, in one-pound portions.  When using frozen dough, thaw and use as instructed.

For the filling

Line your Crock-Pot with parchment paper. You will use this paper to remove the monkey bread from the pot, so make sure it is coming up the sides of the Crock Pot (it may have some creases, but this won’t affect the bread baking).

Sprinkle the surface of your dough with flour and take out a 1 1/2 pound piece.

Divide the dough into about 32 pieces, as even in size as possible, but perfection is not needed here.

Roll the dough into small balls. If the dough is sticking to your hands, coat your palms with a small amount of flour.

Combine the sugar, salt, and cinnamon in a bowl. Drop the dough balls into the melted butter, then the bowl of cinnamon sugar and roll them around to coat them evenly.

Place the balls in the lined  Crock-Pot, cover and turn it to high.

Leave the crock pot covered until the dough is cooked through and springs back when touched, anywhere from 1 to 2 hour, depending on your Crock-Pot. Use the parchment paper to remove the Monkey bread from the pot.

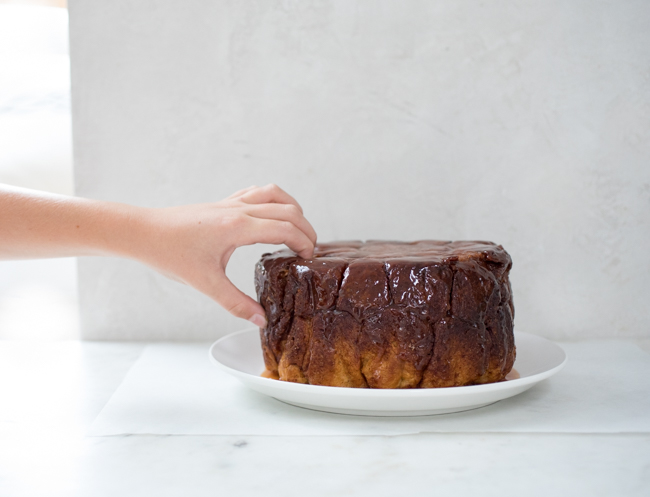
Flip the monkey bread onto a serving plate and remove the parchment paper (which is now the top).

Drizzle the Monkey Bread with the caramel sauce and let cool for 5 to 10 minutes. Eat and enjoy!

Red Star Yeast provided yeast samples for recipe testing, and sponsored this post.  

Note: BreadIn5.com is reader supported. When you buy through links on the site, BreadIn5 LLC earns commissions.

Blackberry Mascarpone Focaccia

Blackberry Mascarpone Focaccia with Basil

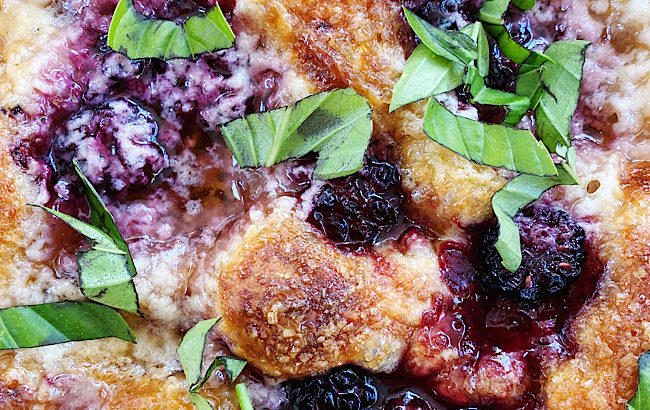
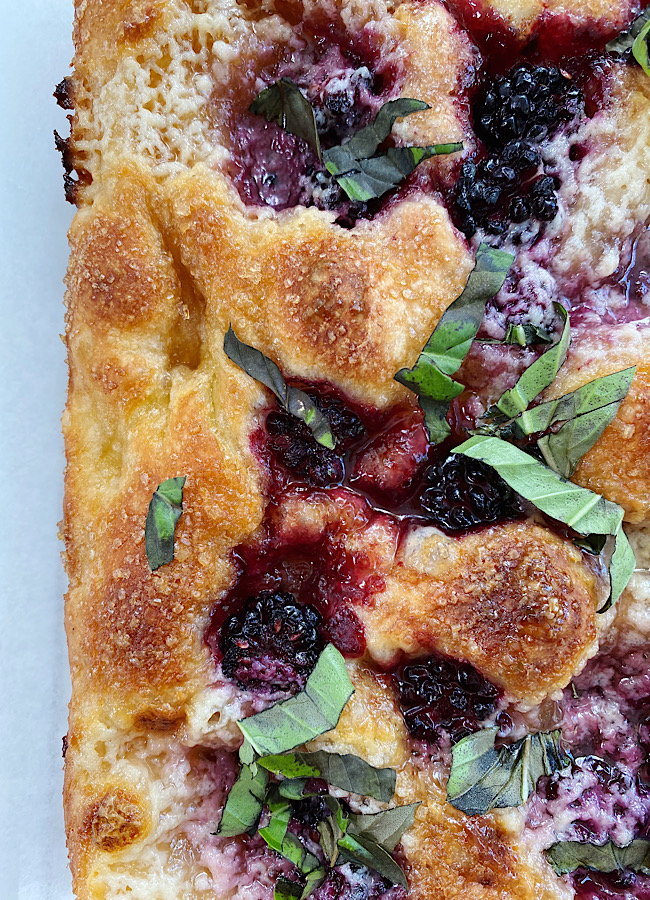
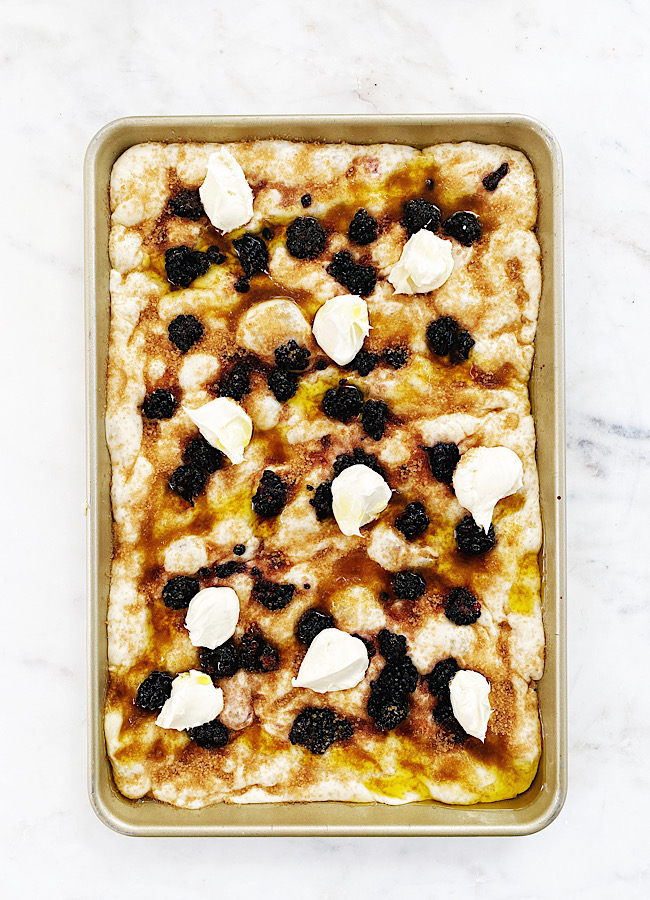
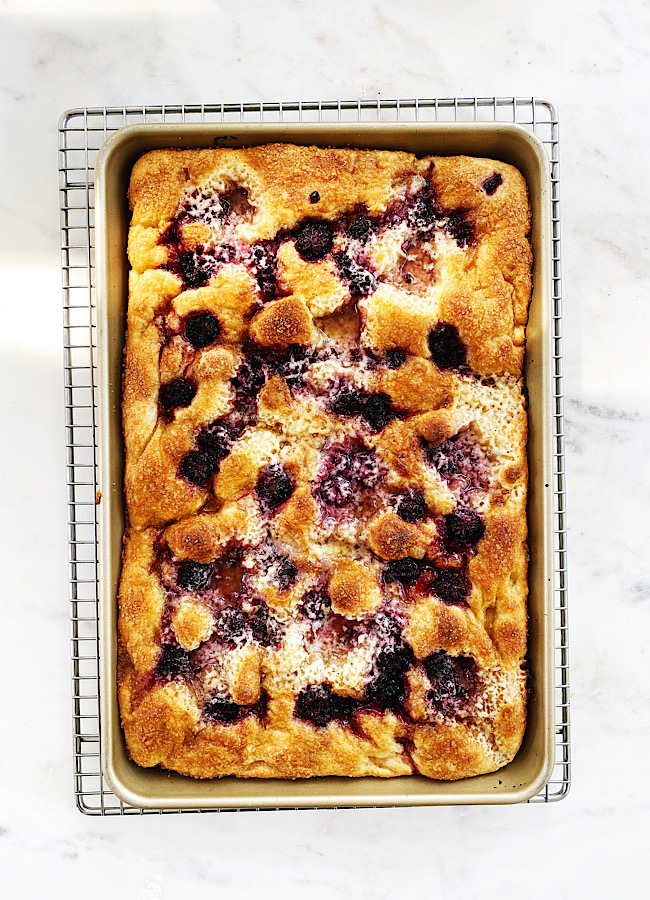
We wanted to sneak in some summer berries before apples and pumpkin take center stage (and also take over the internet). This delicious focaccia bread is based on a recipe from Edd Kimber’s beautiful new cookbook, One Tin Bakes; his version uses fragolina grapes and rosemary. But I had blackberries in my fridge that needed to be used, some leftover Master dough, and my basil plant is currently larger than life, so Blackberry Basil Focaccia was born.

This focaccia is sweet: it’s dolloped with mascarpone and sprinkled with sugar, and the results are amazing. You will want to eat this the day it’s made, and I highly recommend digging in while it still slightly warm.

Blackberry Mascarpone Focaccia with Basil

Inspired by Edd Kimber’s One Tin Bakes

For the mascarpone topping

1/2 cup [4 ounces] Mascarpone

1 tablespoon granulated sugar

1/2 teaspoon pure vanilla extract

In a small bowl, mix the mascarpone, sugar, and vanilla together until combined.

For the focaccia

1 1/4 pounds dough, Master recipe, from New Artisan Bread in Five

4 tablespoons olive oil, divided

1 cup blackberries, chopped

4 tablespoons turbinado sugar

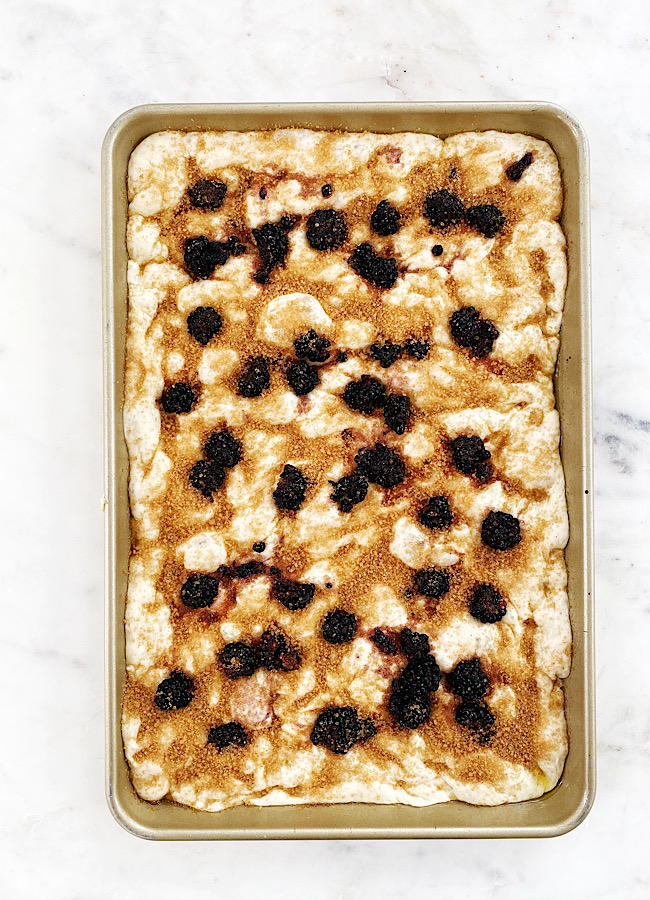
Pour two tablespoons of olive oil into a quarter sheet pan (a 9 x 13 pan will work, too) and use a pastry brush or your fingers to to rub it all over the base and up the sides of the pan. Place the dough into the pan, coating the bottom with oil, then turn the dough over so that both sides are coated in oil. Using your fingertips, gently spread the dough into the pan in an even layer. If the dough resists, let it rest a few minutes and try again, until the dough is nestled into the pan and into the corners. Lightly cover with plastic wrap and let the dough rise until doubled in size, about 1 hour.

Adjust an oven rack to the middle position and preheat the oven to 425F. Gently dimple the dough with your fingertips.

Scatter the blackberries evenly over the dough, then sprinkle the turbinado sugar over the top (it will look like too much sugar).

Dollop the mascarpone mixture over the dough, and then drizzle with the remaining 2 tablespoons of olive oil.

Bake the bread for 18 to 25 minutes, or until light golden.

Scatter the basil leaves over the top of the hot bread. Move the pan to a wire rack to cool for 5 minutes, then remove the focaccia from the pan and let cool on a wire rack (this helps it stay crisp).

Cut the bread into squares and serve. Best eaten the same day it’s made.

Note: BreadIn5.com is reader supported. When you buy through links on the site, BreadIn5 LLC earns commissions.

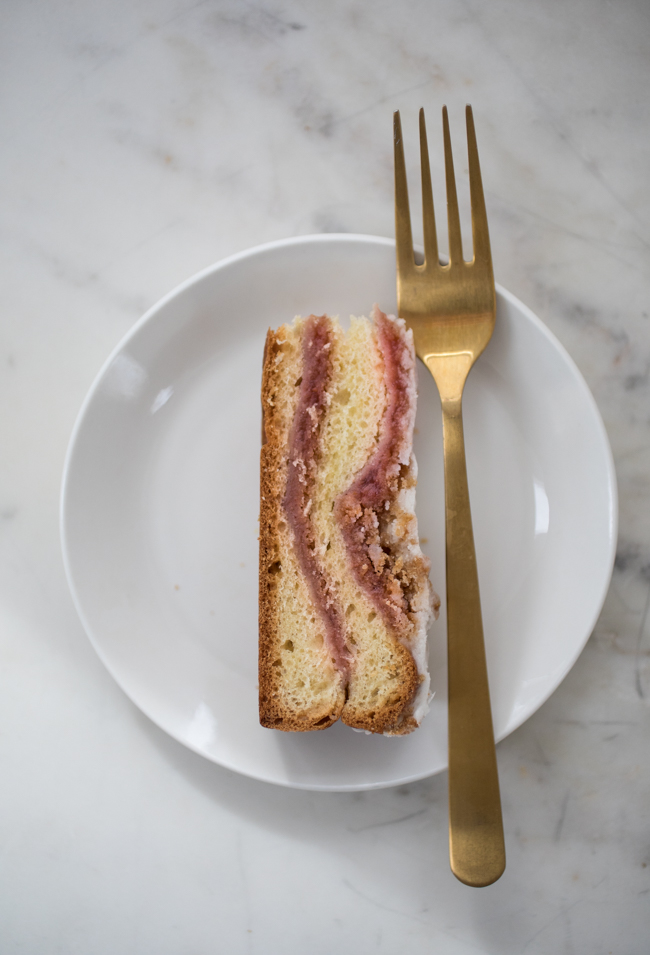
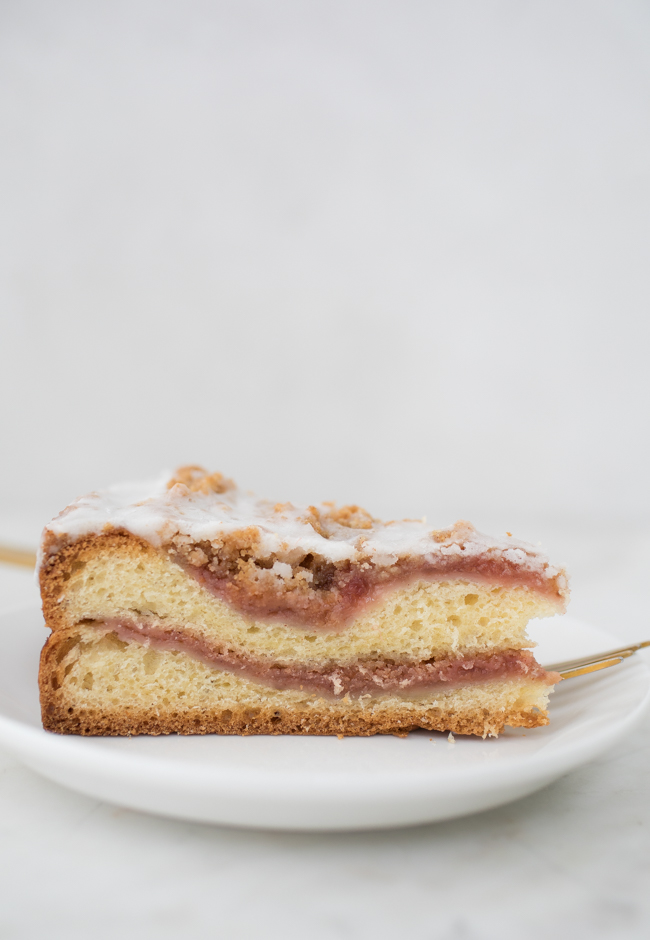
Strawberry Rhubarb Streusel Coffee Cake for Mother’s Day

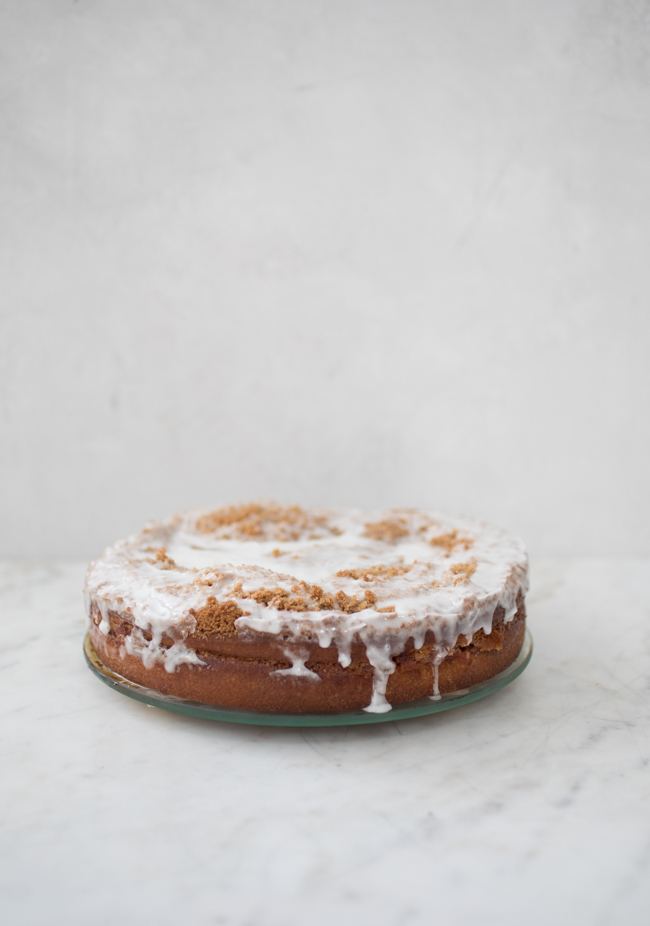
Strawberry Rhubarb Streusel Coffeecake

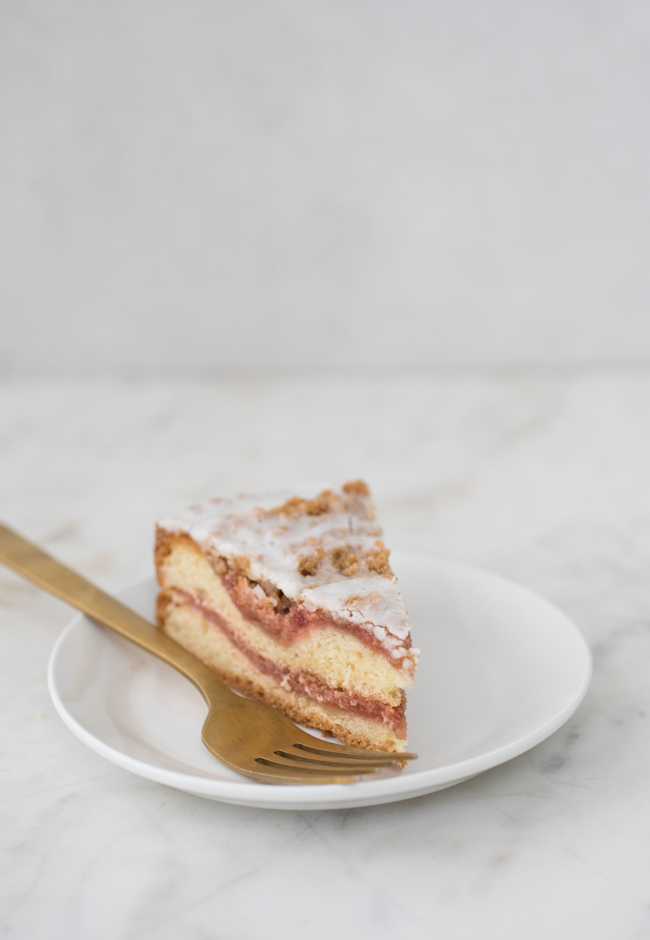
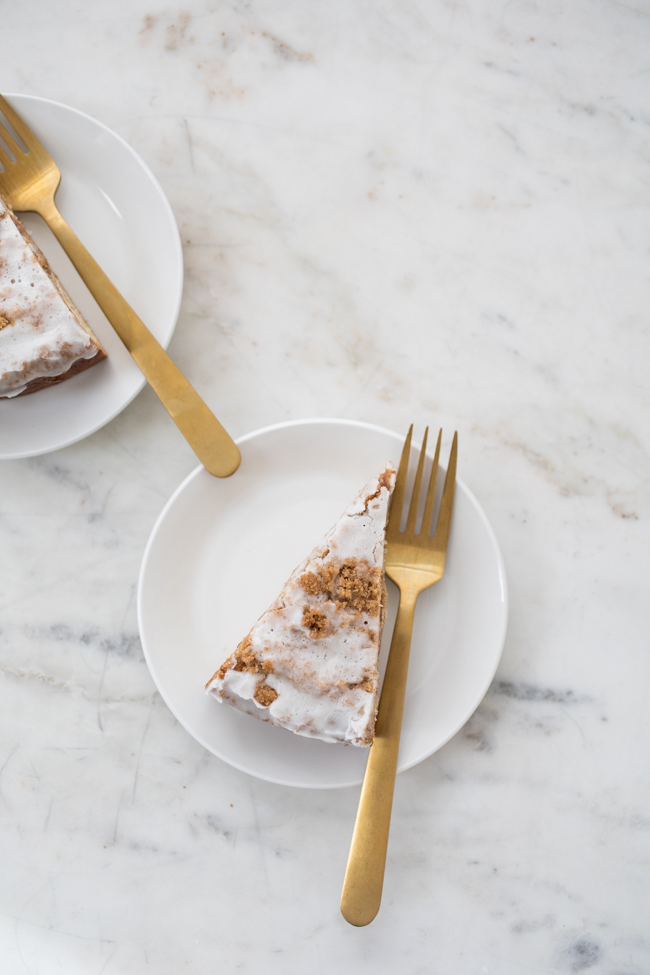
It’s Mother’s Day this weekend and if you are celebrating your Mom or any other women in your life, we have a lovely (and easy!) coffeecake for you to put together. It is made with my 5 minute no-knead brioche and a delicious strawberry-rhubarb filling, but in a pinch you can use your favorite store-bought jam to substitute. There’s also coffeecake in Blueberry if that is more your jam (pun intended).

Strawberry Rhubarb Streusel Coffeecake

Strawberry Rhubarb Streusel Coffeecake

Streusel Topping

2/3 cup all-purpose flour

1/3 cup brown sugar

1/3 cup granulated sugar

1/2 cup almond flour or oats

2 teaspoons ground cinnamon

1/4 teaspoon salt

6 tablespoons unsalted butter, room temperature

Strawberry Rhubarb Filling

1 cup rhubarb, chopped into 1-inch pieces
3 ounces strawberries
1/4 cup granulated sugar (if your rhubarb is really tart, you can add up to 1/2 cup sugar total, however the streusel and icing will add a lot of sweetness, so it’s better to keep the jam slightly on the tart side)
Pinch salt

1 pound (grapefruit-size portion) Brioche dough, from New Artisan Bread in Five Minutes a Day

Icing
2 ounces cream cheese, room temperature
2 tablespoons milk
Pinch salt
1/2 teaspoon pure vanilla extract
1 to 1 1/4 cups confectioners’ sugar

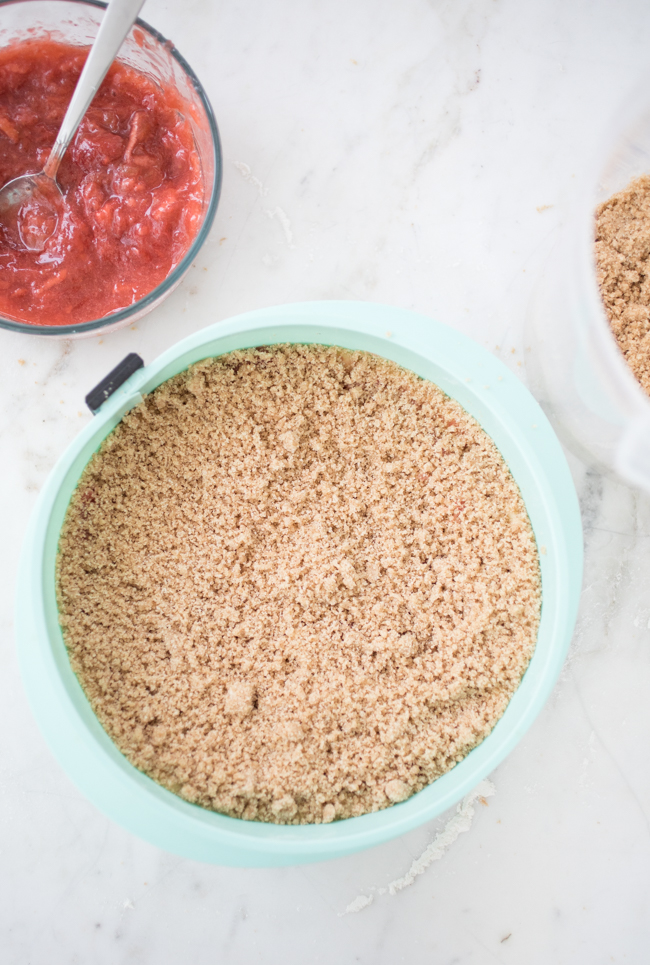
Prepare the streusel topping: In the bowl of a stand mixer, combine the all-purpose flour, sugars, almond flour, salt, and cinnamon on low. With the mixer on low, add the butter, one tablespoon at a time, until the mixture comes together but still is quite crumbly.

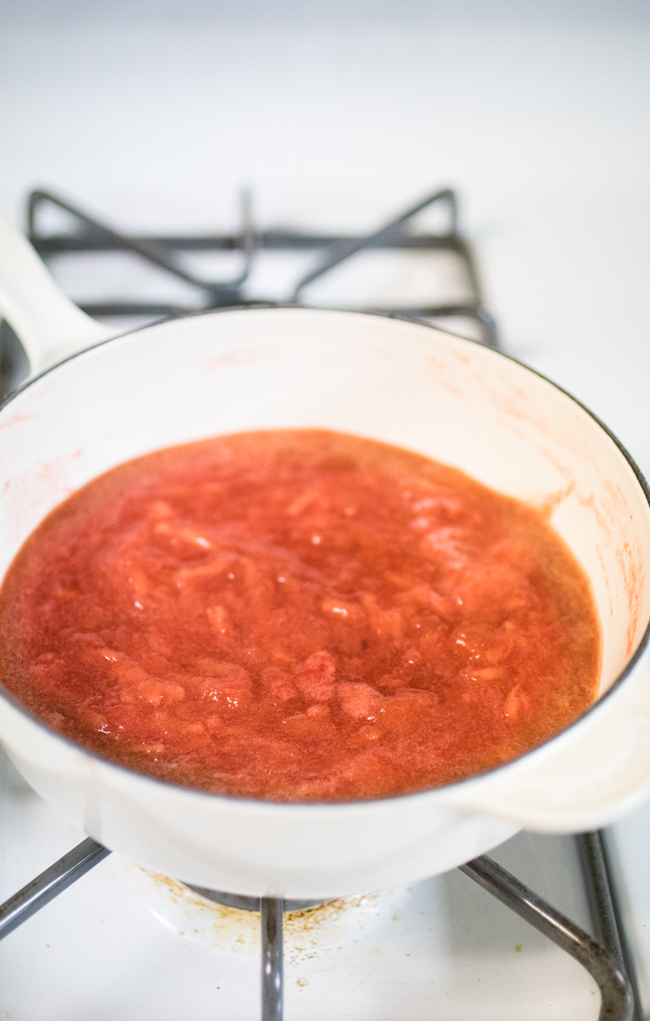
Prepare the fruit filling: Place the rhubarb, strawberries, sugar, and salt into a medium pan and simmer over medium-low heat for about 30 to 40 minutes, stirring often, until the rhubarb and strawberries have broken down and the jam has thickened. The jam will cling to a wooden spoon when it is done. Remove from the heat and allow to cool to room temperature. Refrigerate the jam until ready to use. (Taste your jam – if it is a little flat, you can add a squeeze or two of lemon juice – about 1/2 teaspoon at a time, until it brightens the flavor.)

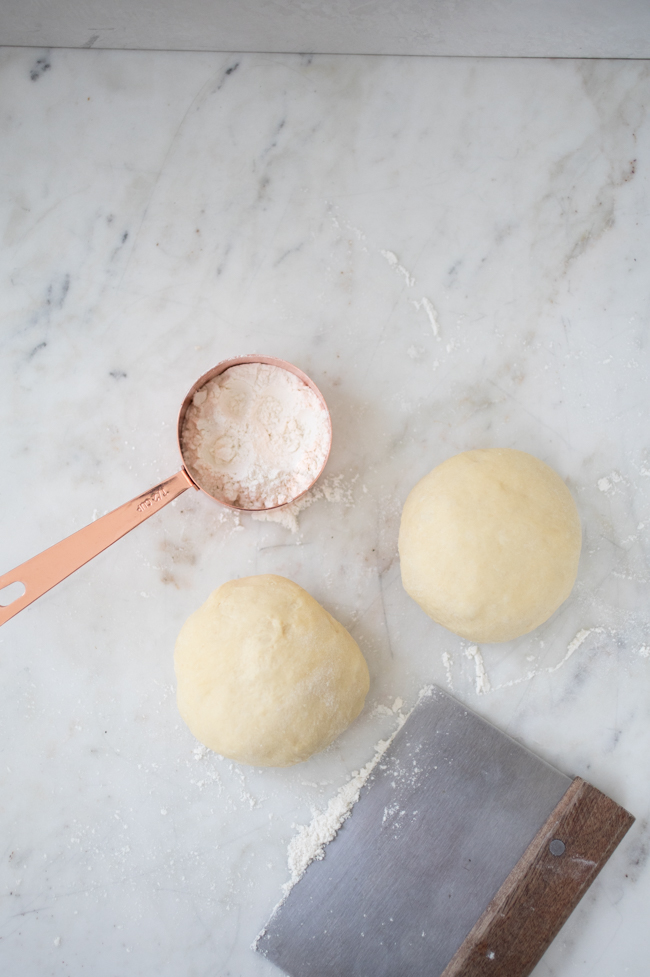
Grease an 8-inch springform cake pan with butter and dust with flour. Set aside. Dust the surface of the refrigerated dough with flour and cut off a 1-pound piece. Divide the piece in two, dust with more flour, and quickly shape each piece into a rough ball by stretching the surface of the dough around to the bottom, rotating the ball a quarter-turn as you go.

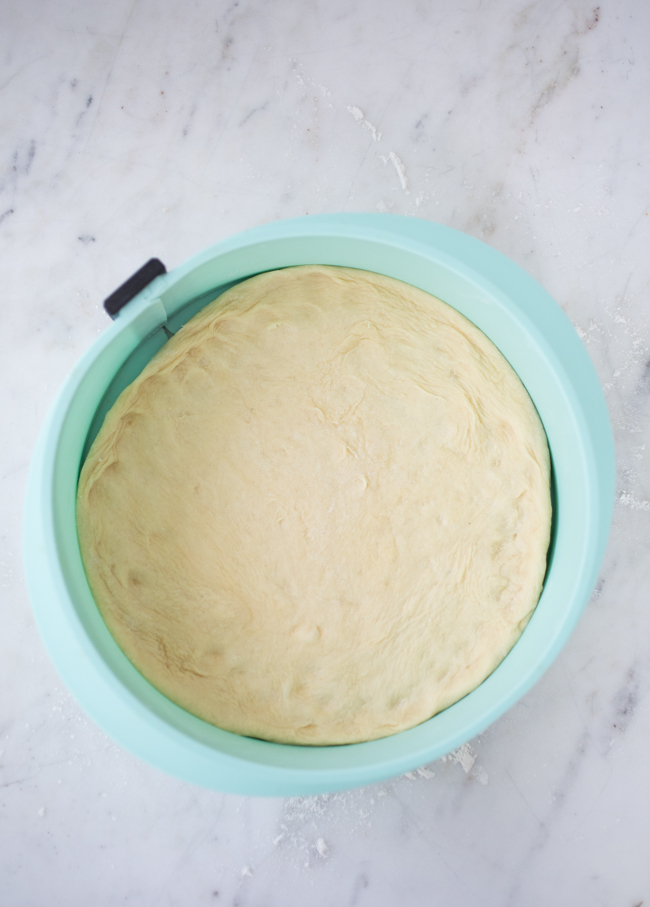
Roll the balls out into two 1/4-inch thick rounds, about 9 inches across. As you roll out the dough, add flour as needed to prevent sticking. Place one of the dough rounds in the bottom of the prepared pan.

Top with half of the fruit filling and and sprinkle half the streusel topping over it. Repeat with the remaining dough round, fruit filling, and streusel.

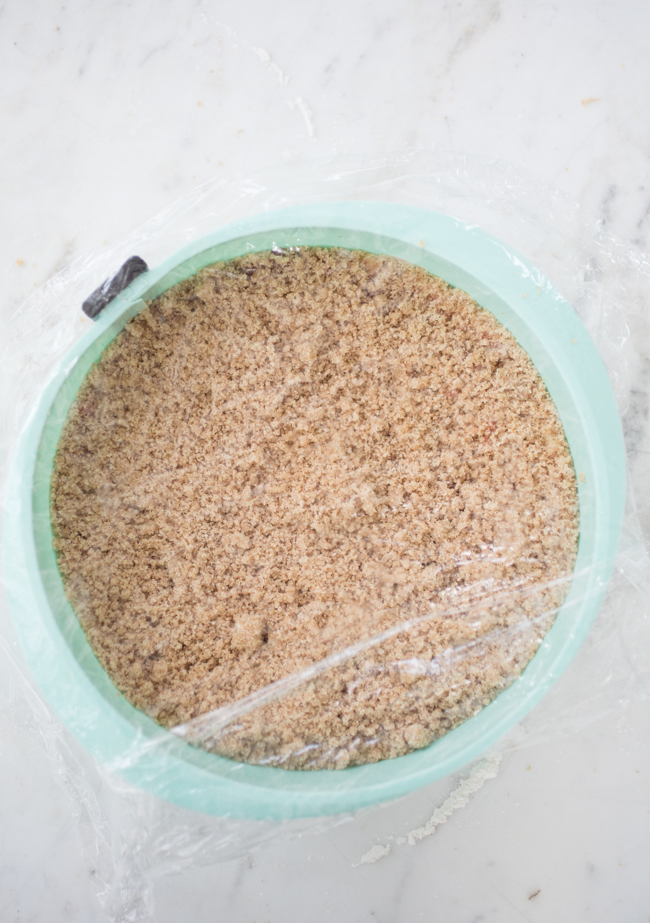
Cover loosely with plastic wrap and allow to rest at room temperature for 90 minutes. Preheat the oven to 350F, with a rack placed in the center of the oven. Bake for 55 to 60 minutes.

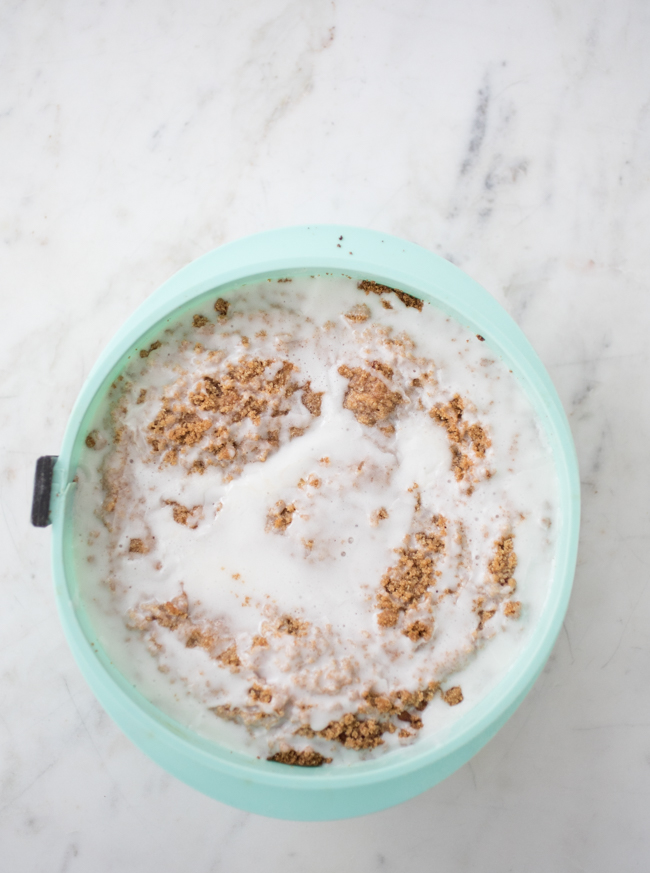
While the cake is baking, prepare the icing: In a small bowl, mix the cream cheese, milk, salt, and vanilla until smooth. Add 1 cup of the confectioners’ sugar and mix again until smooth. If the mixture is too thin, add more powdered sugar until the desired consistency is reached.

Move the cake pan to a wire rack and let cool for 10 minutes. Pour the icing over the cake, and then let it continue cooling for 20 minutes.

Remove the cake from the springform pan while it is still warm.

Serve the cake warm or at room temperature.

Kulich

Kulich for Easter, Two Ways

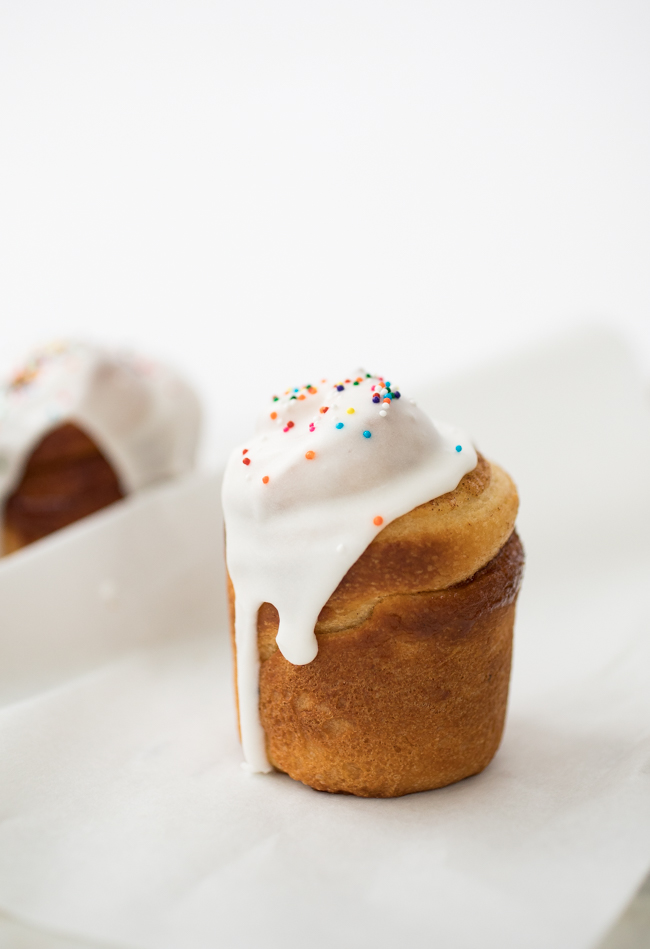
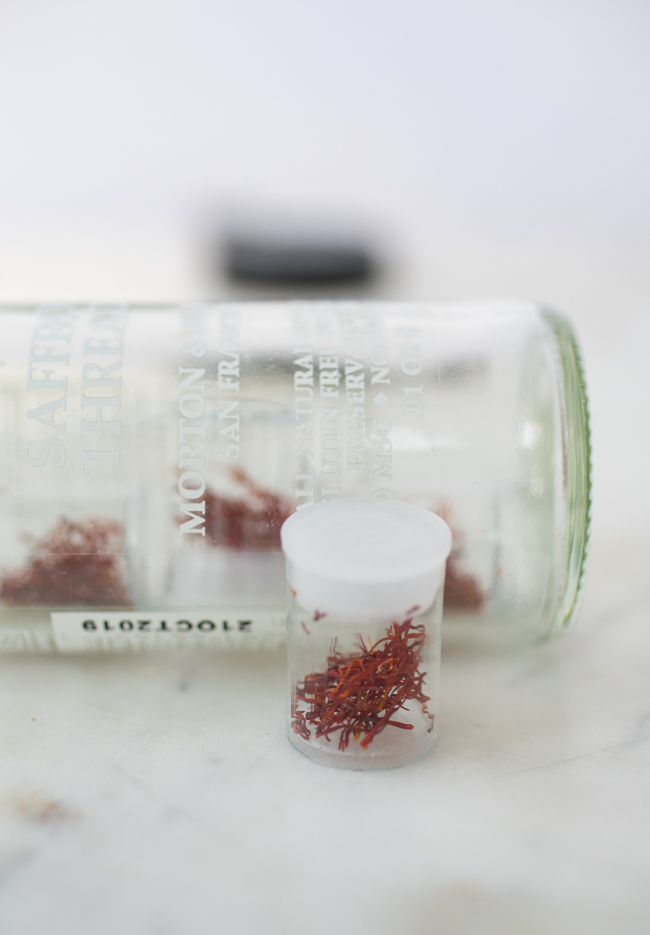
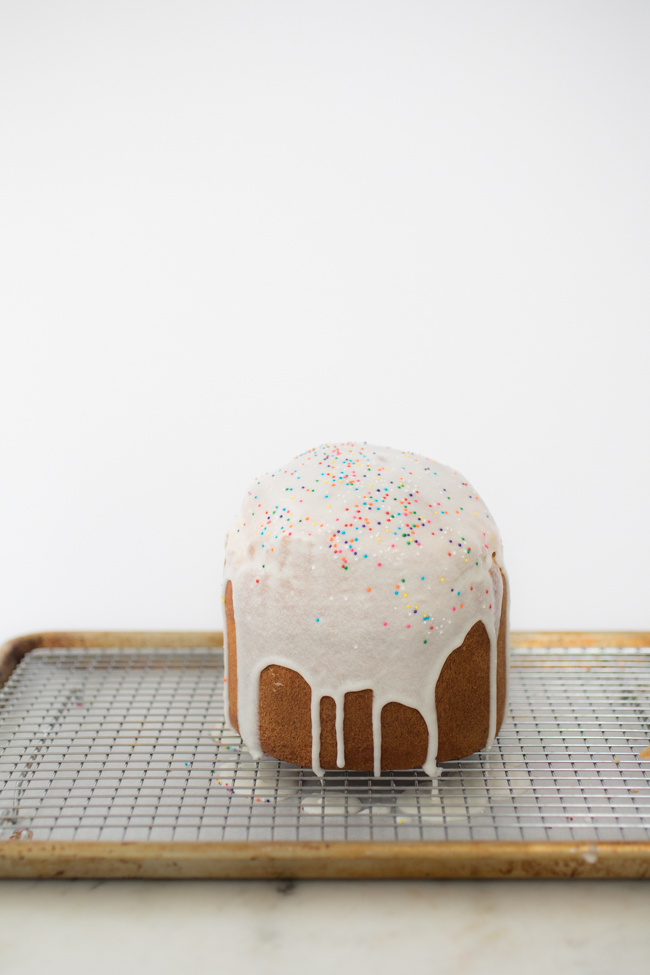
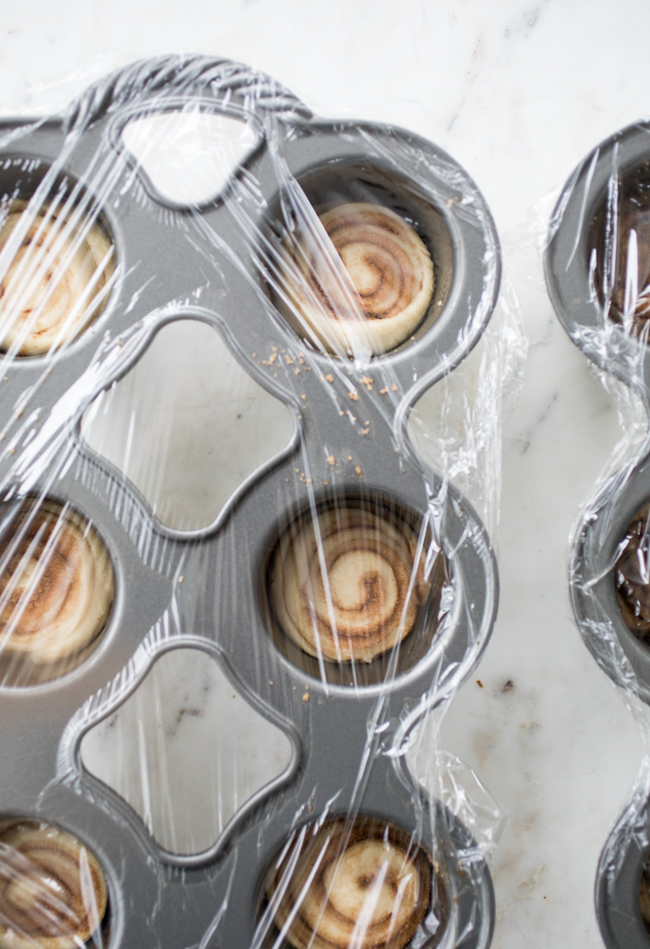
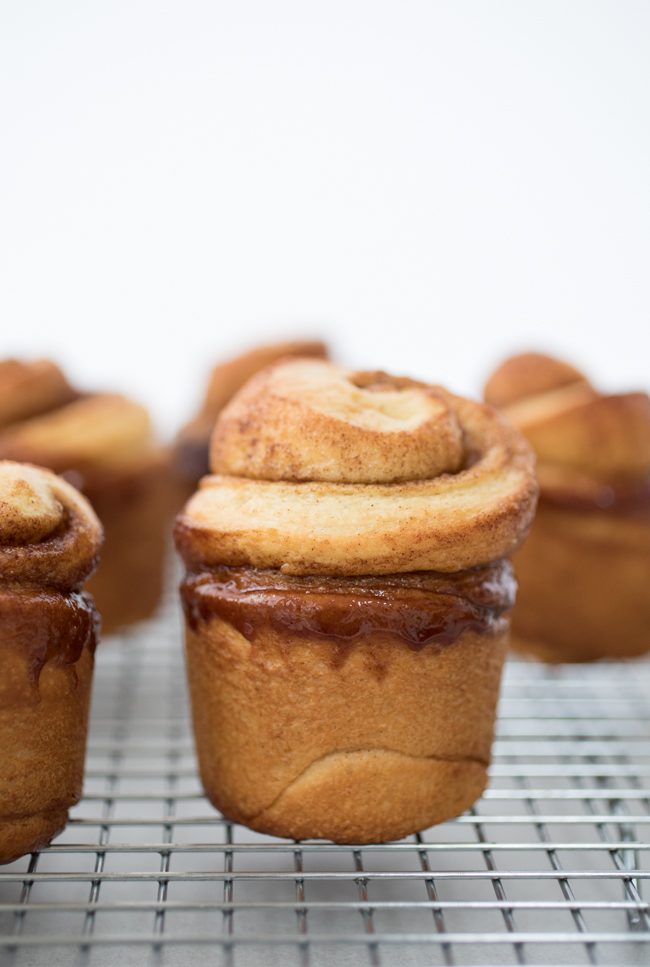
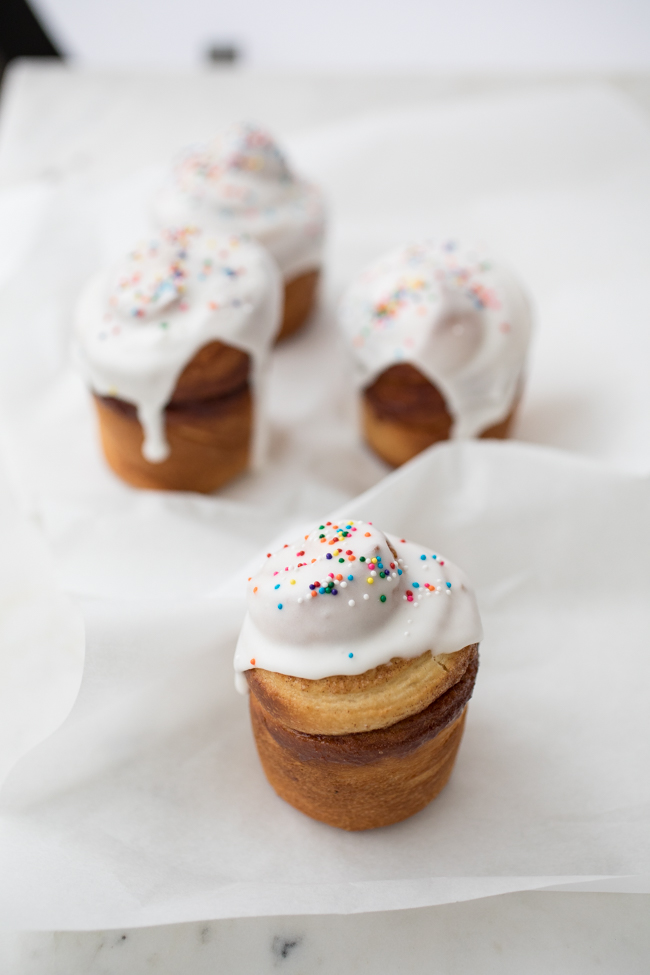
Kulich (cool-ich) is an Easter bread that is scented and colored with saffron threads and topped with a sweet layer of icing. It is often made with St. Lucia Bun dough, but we took a favorite no-knead brioche dough from The New Artisan Bread in Five book and added a little saffron to it to make this version. If you scroll down, there’s also a recipe for ‘Cinnamon Roll Kulich’ – which is this same dough made with a cinnamon swirl center and baked in a popover pan to help keep its tall shape. Icing and sprinkles are also included, of course.

Kulich

2 pounds Brioche dough (page 300 of The New Artisan Bread in Five Minutes a Day, or the recipe here on the website), with 1/2 teaspoon saffron threads mixed into the wet ingredients

All-purpose flour, for dusting

Egg wash (1 egg beaten with 1 tablespoon water), for brushing the dough

Icing

1/2 cup confectioners’ sugar

2 tablespoons cream (or more as needed for a thick but pourable consistency

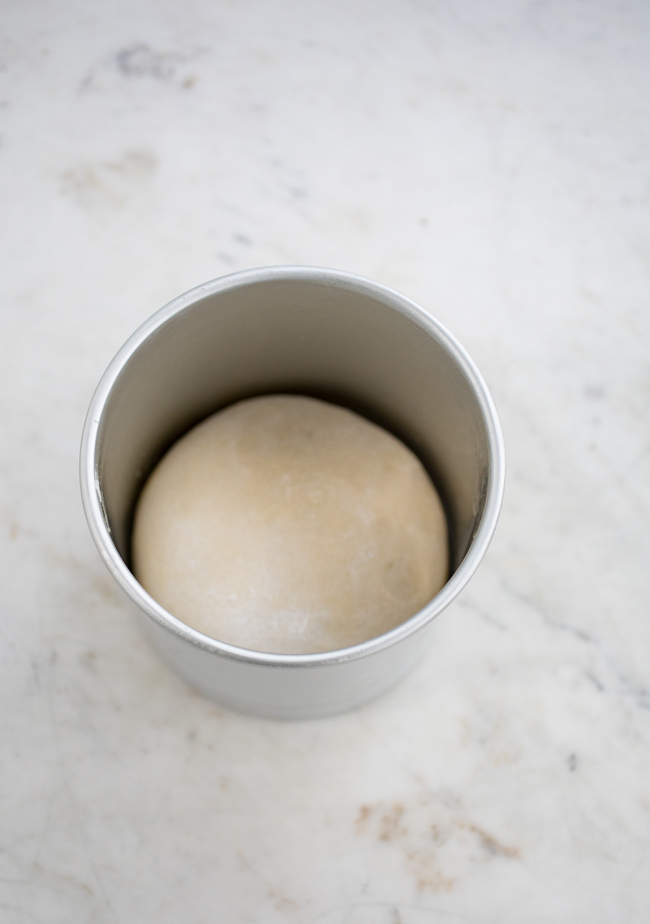
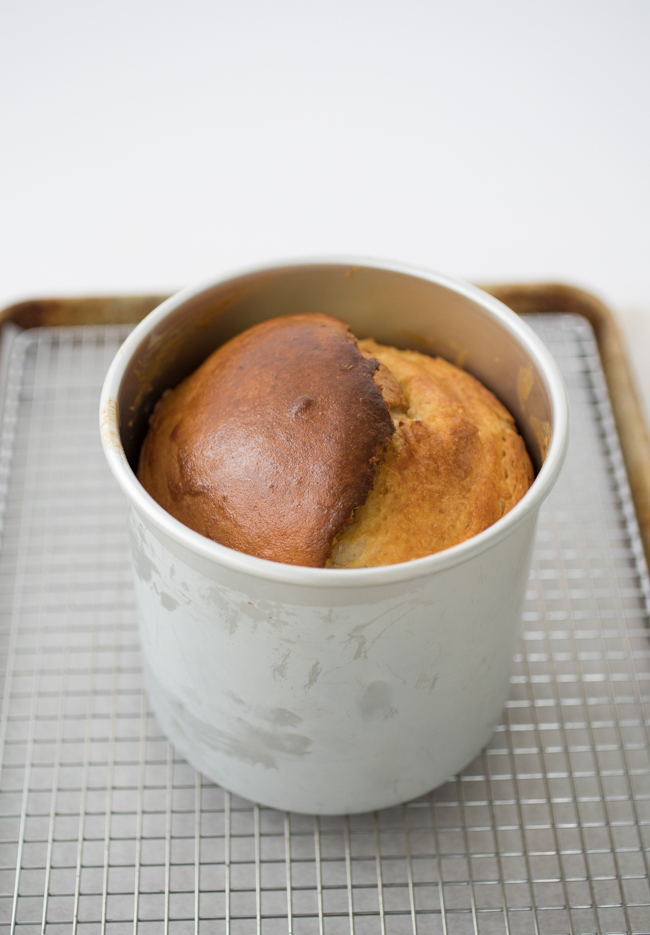
To bake: Generously grease a panettone mold with butter (the mold I use in the photos is currently unavailable but it is a 6 x 6 inch panettone pan with a removable bottom. Many people also bake them in large, empty, parchment lined coffee cans to achieve the high domed loaf.) Dust the surface of the refrigerated dough with flour and cut off a 2-pound (cantaloupe-size) piece. Dust the piece with more flour and quickly shape it into a ball by stretching the surface of the dough around to the bottom, rotating the ball a quarter-turn as you go. Place the ball in the greased panettone mold, seam-side down.

Cover loosely with plastic wrap and allow to rest at room temperature for 90 minutes.

Preheat the oven to 350F, with a rack placed in the center of the oven. Brush the dough with egg wash. Bake for 50 to 55 minutes, or until golden brown. Allow the bread to cool on a wire rack.

Make the icing: Mix the confectioner’s sugar and heavy cream together until smooth and thick enough to cling to the cake. You don’t want it to drip off the sides (like the very first photo shows) but if it does (like the one directly above) it will still taste good. Drizzle the icing over the cake and cover with colorful sprinkles.

Cinnamon Roll Kulich

1 1/2 pounds Brioche dough (page 300 of The New Artisan Bread in Five Minutes a Day, or the recipe here on the website), with 1/2 teaspoon saffron threads mixed into the wet ingredients

All-purpose flour for dusting

Filling

2 tablespoons unsalted butter, melted and slightly cooled

1/2 cup brown sugar

1 tablespoon ground cinnamon

Pinch salt

Icing

1/2 cup confectioners’ sugar

2 tablespoons cream (or more as needed for a pourable consistency)

Grease a 12 cup (or two 6 cup) large popover pans. (If you don’t have popover pans, you can use a greased 9×13 inch baking pan.)

Roll the dough into 1/4-inch thick rectangle. Brush the entire surface with the melted butter. In a small bowl mix together the sugar, cinnamon, and salt. Spread the mixture over the butter topped dough. Use your hands to make sure you have an even coat of the sugar. Then roll the dough up, starting at the long end.

Use a Bread Knife, Kitchen Scissors or floss to cut the log into 12 equal pieces.

Loosely cover the buns and let them rest between 1 1/2 to 2 hours. The long rest will insure that you have a fluffy bun. (You can set these up the night before and let them rest overnight in the refrigerator. In the morning take them out and let them sit on the counter for about 45 minutes to an hour.) You may get away with slightly shorter rise, but the buns will not be quite as soft.

Preheat the oven to 350°F and place the rack in the middle of the oven.

Bake for about 20 to 30 minutes, just until the centers are set when poked with your finger (they should be caramel colored). Turn the buns out of the pan (if using the popover pans). Let them cool on a wire rack.

Make the icing: Mix the confectioners’ sugar and heavy cream together until smooth and thick enough to cling to the cinnamon rolls. Drizzle the icing over each roll and cover with colorful sprinkles.

Note: BreadIn5.com is reader supported–when you buy through links on the site, BreadIn5 LLC earns commissions.
Pumpkin Star Bread

Pumpkin Star Bread for Thanksgiving

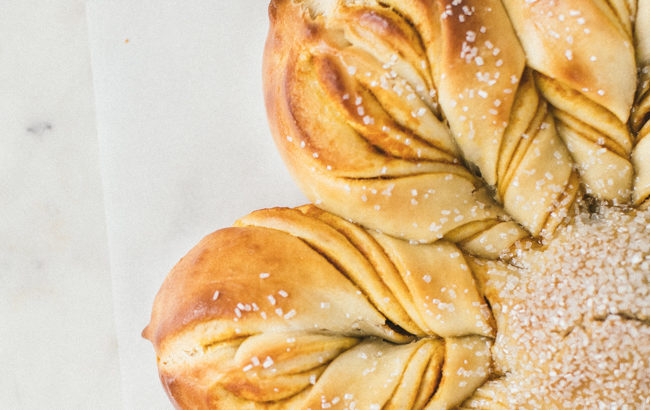
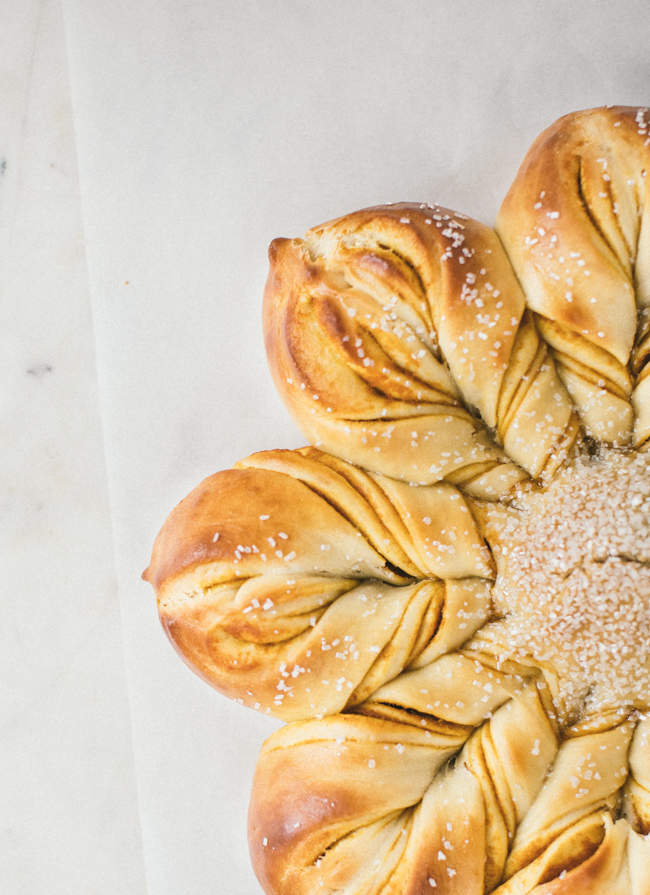
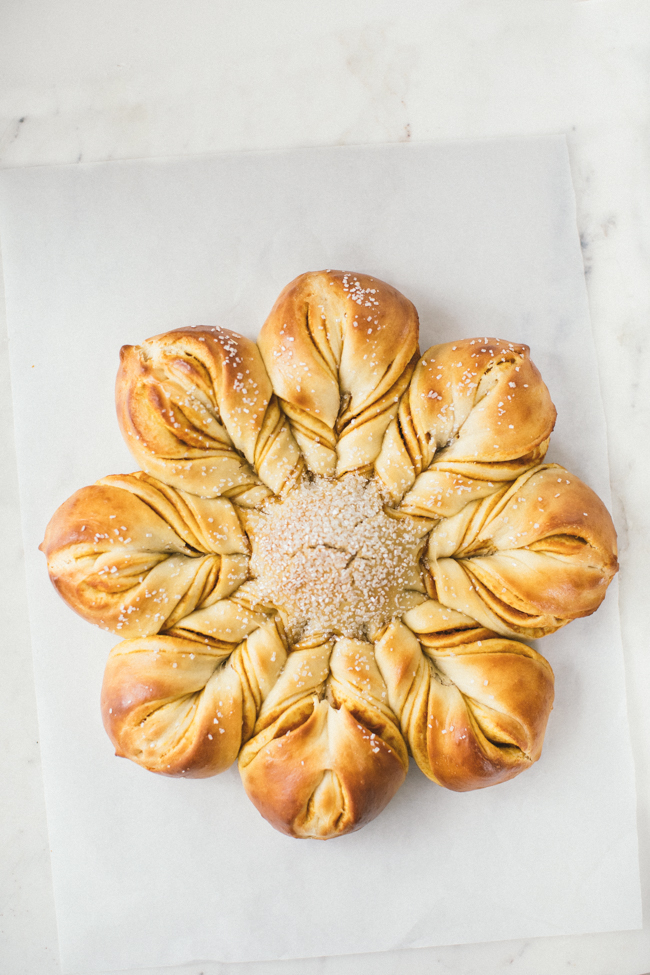
Our Holiday Star Bread was quite popular last year, so we decided to come up with yet another version: this one with pumpkin filling and sprinkled with sanding sugar. Our original version is filled with sugar and holiday spices, but we’ve also tried it with jam and Nutella, so if you are interested in playing around with recipe, there is also room for your own interpretation! This beautiful bread made it into our newest book, Holiday and Celebration Bread in Five Minutes a Day, and it is one of the prettiest, easiest and most sensational breads to make for a family gathering or work party.

Pumpkin Star Bread

(For step-by-step instructions, check out our Instagram highlights!)

2 pounds Brioche dough, Challah, Amish Milk Dough or our White Bread Master dough (from Holiday and Celebration Bread in Five Minutes a Day) (note that the enriched doughs will produce a richer, thicker bread)

Pumpkin Filling

1/2 cup unsweetened pumpkin puree
1/4 cup light brown sugar
1 tablespoons unsalted butter
1/2 teaspoon ground ginger
1/2 teaspoon ground cinnamon

Pinch salt

Egg wash (1 egg mixed with 1 tablespoon water and a pinch of salt)

For the pumpkin filling: Combine the pumpkin puree, sugar, butter, ginger, cinnamon, and salt in a small saucepan and heat over low heat, stirring continuously until the butter has melted and the sugar has dissolved. Turn up the heat to medium and continue to heat the mixture, stirring constantly, until the mixture comes to a boil (the mixture is quite thick, so you need to look for slow bubbles). Once the puree is bubbling, turn the heat down to medium-low and cook the mixture for about 5 minutes, still stirring. Remove the puree from the heat. Cool to room temperature, then chill in the refrigerator for at least 30 minutes before using.

For the star bread: Divide the dough into four equal pieces. Roll the pieces into balls, and let rest for 20 minutes, covering with plastic wrap.
With a rolling pin, roll out all the dough balls into 10-inch circles. Place one of the circles on a piece of parchment paper. Put a couple tablespoons of the pumpkin mixture on the round and spread evenly.

Place another circle on top of the first circle, and spread a couple more tablespoons of pumpkin. Repeat with one more circle, then place the final circle on top. (I like to chill the star for 20 minutes at this point; it helps make cutting and twisting a little easier.)

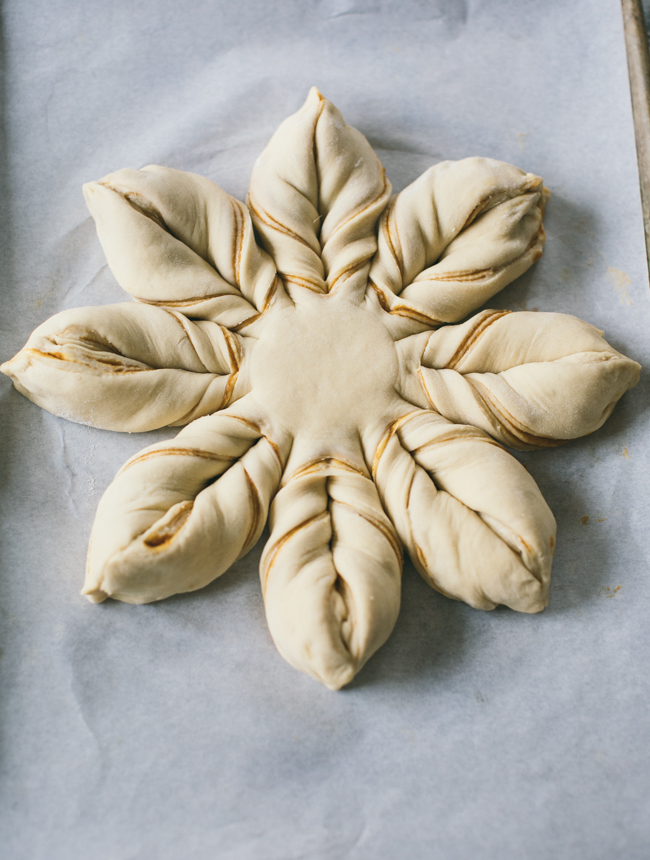
Place a 2 1/2-inch biscuit cutter (or other round object) in the center of the circle, and then use a bench scraper to cut the circle into 16 equal strips (starting at the circle and out to the end), cutting through all the layers.

Take two pieces of dough, and twist them away from each other twice. Repeat around the whole circle.

Pinch the ends of the pairs of strips firmly together to create the star (you should end up with 8 points).

Remove the biscuit cutter. Transfer the star on the parchment to baking sheet. Cover the star gently with plastic wrap and let rise for 45 minutes to 1 hour, until a bit puffy. During this time, preheat the oven to 400F. Before putting into the oven, brush the star with egg wash and sprinkle the center with sanding sugar, if desired. Bake for 20 to 30 minutes, until golden brown.

Remove from the oven and let cool on a wire rack for 15 to 20 minutes. Best eaten the day it’s made.

Lesaffre Yeast Corporation (Red Star) provided yeast samples for recipe testing, and sponsors BreadIn5’s website and other promotional activities.

apple brioche braid

Apple Brioche Braid

A popular recipe on this site is the Raspberry Brioche Braid, a pastry that mimics a Danish braid without quite as much work. Since berries are now behind on us and we look forward to cold days and even colder nights, here’s an Apple version.

Apple Brioche Braid

(For step-by-step instructions, check out our Instagram highlights!)

1 pound brioche dough made with Red Star Platinum Yeast (I’ve used the brioche dough from The New Artisan Bread in Five Minutes a Day, and the Amish Milk Dough from Holiday and Celebration Bread in Five Minutes a Day, but you could also use Challah dough or one of the enriched doughs from our The New Healthy Bread in Five Minutes a Day book or even Gluten-Free Artisan Bread in Five Minutes a Day)

Quick Apple Filling

2 cups grated Gala apple

1/4 cup apple cider

2 tablespoons granulated sugar

Pinch salt

Cream Cheese Filling

4 ounces cream cheese

1/2 teaspoon lemon zest

1/4 cup granulated sugar

Egg wash (1 egg mixed with 1 tablespoon water) for topping braid

Icing

1 cup powdered sugar

1 tablespoon unsalted butter, melted

1 tablespoons water

1 tablespoon brandy (optional)

Pinch salt

To make the jam: Place the grated apple, apple cider, sugar and salt into a pan and stir together. Simmer over a medium/low heat for about 20 minutes, stirring often, until most the juice has cooked into the apples. Set aside and let cool to room temperature. (The mixture will still look very ‘grated’, but the apples will continue cooking as the bread bakes.)

To make the cream cheese filling: mix the cream cheese, zest and sugar in a bowl until smooth.

Take a one pound piece of dough from the dough bucket (weighing on a scale is the easiest way, but if you don’t have one, a grapefruit-sized piece will do) and roll the dough into a 9 x 12-inch rectangle. Make sure to use enough flour that the dough doesn’t stick to the surface or the rolling pin. TRANSFER THE ROLLED OUT DOUGH TO A SHEET OF PARCHMENT. Spread the cream cheese filling down the center of the dough, about 1 inch wide.

Top the cream cheese with about 1/2 cup of the apple filling. You can add more, but some may leak out of the braid as it is baking. There may be a little jam left over to serve with the baked braid.

Cut 1/2-inch thick strips of dough with a pastry or pizza cutter. (Try to get an even amount on both sides, but it’s okay if it doesn’t happen.)

Lightly twist the top two strips of dough, then cross them over the top of the filling. Do not pull the dough too thin or it may break as it rises and bakes. Continue that same routine of twisting the pieces and crossing them over each other on top of the filling, until you are at the bottom. If you find an odd piece of the dough, that doesn’t have a mate, just twist it and place it over the filling. When you get to the end, tuck the loose pieces under the loaf, so they are secure and won’t pop out when baking.

Place the braid and parchment onto a baking sheet, cover loosely with plastic and allow to rest for about 1 1/2 hours.

Adjust an oven rack to the middle position, and preheat the oven to 350°F.

Just before baking, brush the loaf gently with the egg wash.

Bake the loaf for about 30 minutes or until golden brown (I like to bake this braid on two layers of baking sheets, to keep the bottom from browning too quickly). Allow to cool before topping with the icing.

To make the icing: place the powdered sugar in a medium bowl. Combine the melted butter, water, brandy, and salt together, and pour it over the powdered sugar, whisking until smooth. It should come off a spoon in a thin drizzle.

Red Star Yeast sponsored this post, and provided yeast samples for recipe testing.

Holiday Star Bread

This fanciful holiday bread made it into our newest book, Holiday and Celebration Bread in Five Minutes a Day, and it is one of the prettiest, easiest and most sensational breads to make for a family gathering or work party.

This Holiday Star Bread has been making the rounds all over social media, so I decided to try it with some of our no-knead Challah dough. I’m happy to report that it works quite well, and it is not that difficult to make. Most of the recipes online have the same directions for shaping the star, so I borrowed from those when practicing, but substituted pumpkin pie spice for the cinnamon just to change things up a bit. We also have a variation with jam, but Nutella or many other fillings would be fun, so if you are interested in playing around with recipe, there is room for your own interpretation. If you do end up making this bread and post on social media, tag #breadin5 so we can see your creations! You can also find us on Instagram at @breadin5.

Read More

pumpkin brioche doughnuts

Pumpkin Brioche Doughnuts

pumpkin brioche doughnuts

It’s that time of year again: pumpkin in everything! I have to admit I don’t mind the pumpkin-y goodness showing up all over the interwebs; there is something very comforting (once the cold weather hits) about all the cinnamon spice in the air. We decided to update our pumpkin pie brioche recipe just a little, and as we are big fans of doughnuts over here, pumpkin doughnuts, of course, had to happen. If you are not yet in the mood for pumpkin, you can find our regular brioche doughnuts here. And, if you need a gluten-free treat, we have Apple Cider Gluten Free doughnuts here.

Also! Don’t forget you can pre-order our new cookbook, Holiday and Celebration Breads in Five Minutes a Day. You can read all about the book here. The book comes out November 6th, and you can preorder here.

pumpkin brioche doughnuts

Read More